ASP.NET Core is an open-source and cross-platform framework for building modern cloud-based and internet-connected applications using the C# programming language.
Kubernetes is an open-source system for automating deployment, scaling, and management of containerized applications. Istio (aka service mesh) is an open framework for connecting, securing, managing and monitoring services.
In this post, we'll deploy a simple ASP.NET Core app to Kubernetes running on Google Kubernetes Engine (GKE) and configure it to be managed by Istio. Then, explore features of Istio such as metrics, tracing, dynamic traffic management, fault injection, and more.
We'll learn:
- How to create and package a simple ASP.NET Core app in a Docker container.
- How to create a Kubernetes cluster with Google Kubernetes Engine (GKE).
- How to install Istio on a Kubernetes cluster on GKE.
- How to deploy our ASP.NET Core app and configure its traffic to be managed by Istio.
In Cloud Shell prompt, we can verify that dotnet command line tool is already installed by checking its version. This should print the version of the installed dotnet command line tool:
$ dotnet --version
2.1.505
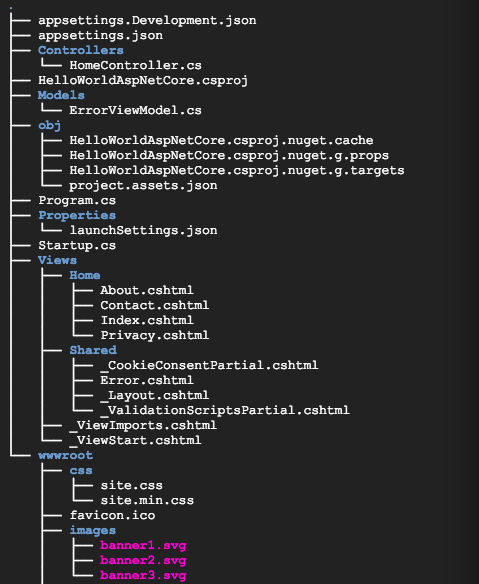
Next, create a new skeleton ASP.NET Core web app.
$ dotnet new mvc -o HelloWorldAspNetCore
Getting ready...
The template "ASP.NET Core Web App (Model-View-Controller)" was created successfully.
This template contains technologies from parties other than Microsoft, see https://aka.ms/aspnetcore-template-3pn-210 for details.
Processing post-creation actions...
Running 'dotnet restore' on HelloWorldAspNetCore/HelloWorldAspNetCore.csproj...
  Restoring packages for /home/kihyuck_hong/HelloWorldAspNetCore/HelloWorldAspNetCore.csproj...
  Installing Microsoft.AspNetCore.Razor.Design 2.1.2.
  Generating MSBuild file /home/kihyuck_hong/HelloWorldAspNetCore/obj/HelloWorldAspNetCore.csproj.nuget.g.props.
  Generating MSBuild file /home/kihyuck_hong/HelloWorldAspNetCore/obj/HelloWorldAspNetCore.csproj.nuget.g.targets.
  Restore completed in 7.09 sec for /home/kihyuck_hong/HelloWorldAspNetCore/HelloWorldAspNetCore.csproj.
We created a project and restored its dependencies.
We're almost ready to run our app. Navigate to the app folder.
$ cd HelloWorldAspNetCore
Then, run the app.
$ dotnet run --urls=http://localhost:8080
...
Hosting environment: Development
Content root path: /home/kihyuck_hong/HelloWorldAspNetCore
Now listening on: http://localhost:8080
Application started. Press Ctrl+C to shut down.
To verify that the app is running, click on the web preview button on the top right and select "Preview on port 8080".
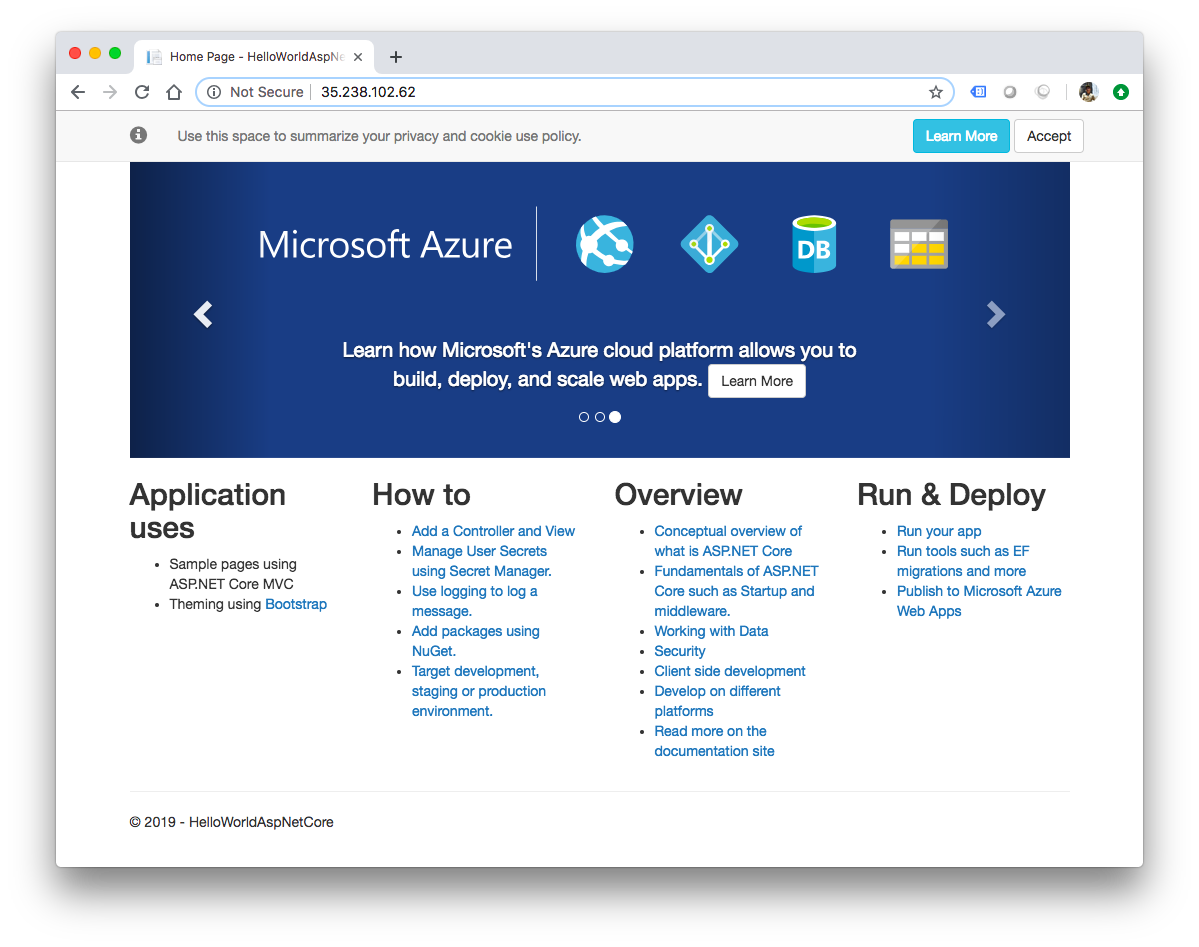
We should see the default ASP.NET Core webpage:
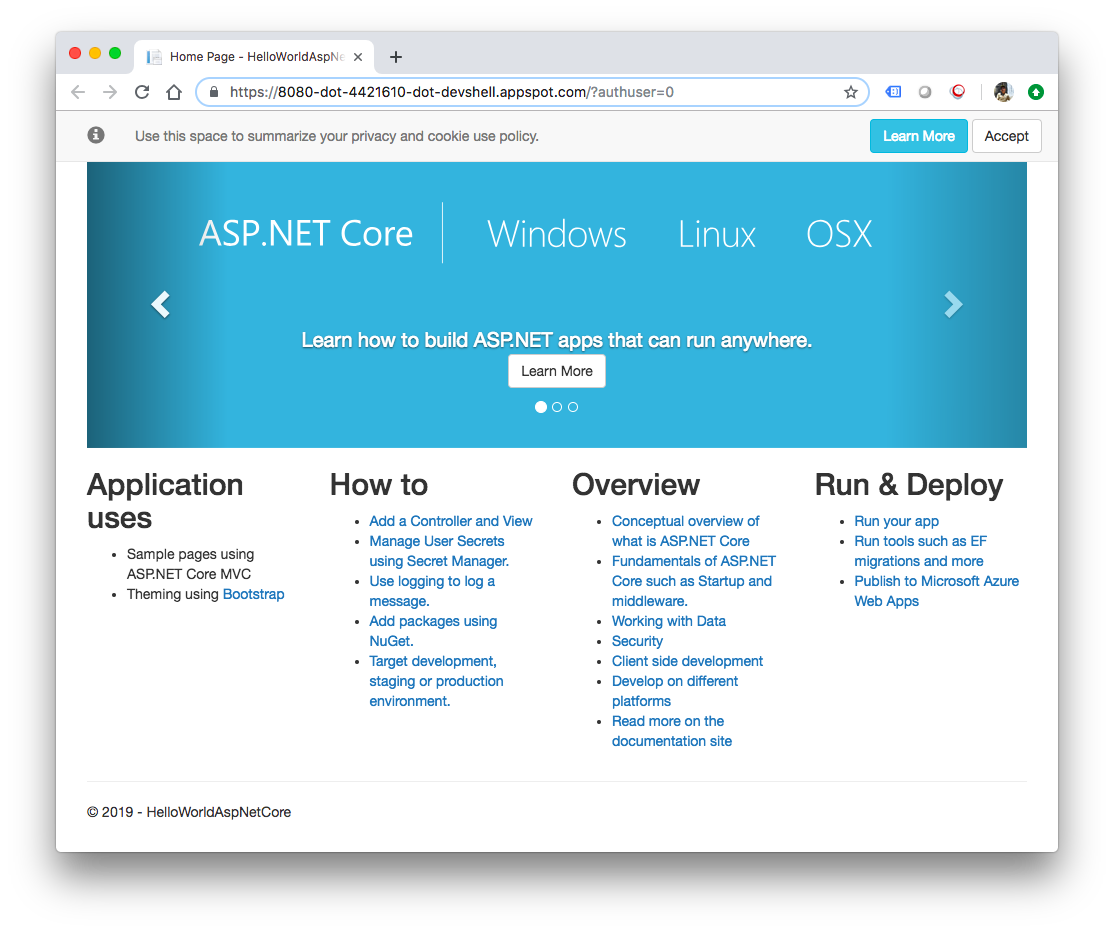
Once we verified that the app is running, we may want to press Ctrl+C on our Cloud Shell to shut down the app.
Next, prepare our app to run as a container. The first step is to define the container and its contents.
In the base directory of the app, create a Dockerfile to define the Docker image.
touch Dockerfile
Add the following to Dockerfile:
# Use Microsoft's official .NET image.
# https://hub.docker.com/r/microsoft/dotnet
FROM microsoft/dotnet:2.2-sdk

# Install production dependencies.
# Copy csproj and restore as distinct layers.
WORKDIR /app
COPY *.csproj .
RUN dotnet restore

# Copy local code to the container image.
COPY . .

# Build a release artifact.
RUN dotnet publish -c Release -o out

# Make sure the app binds to port 8080
ENV ASPNETCORE_URLS http://*:8080

# Run the web service on container startup.
CMD ["dotnet", "out/HelloWorldAspNetCore.dll"]
One important configuration included in our Dockerfile is the port on which the app listens for incoming traffic (8080). This is accomplished by setting the ASPNETCORE_URLS environment variable, which ASP.NET Core apps use to determine which port to listen to.
Save this Dockerfile. We will build the image next but before that, let's set the PROJECT_ID as an environment variable and test that it is set as follows:
$ export PROJECT_ID=$(gcloud config get-value core/project)
Your active configuration is: [cloudshell-9815]
Test that it is set as follows:
$ echo ${PROJECT_ID}
hello-node-231518
Now, let's build the image:
$ docker build -t gcr.io/${PROJECT_ID}/hello-dotnet:v1 .
...
Successfully built d294a4fd57ab
Successfully tagged gcr.io/hello-node-231518/hello-dotnet:v1
Once this completes (it'll take some time to download and extract everything), we can see the image is built and saved locally:
$ docker images
REPOSITORY                              TAG                 IMAGE ID            CREATED              SIZE
gcr.io/hello-node-231518/hello-dotnet   v1                  d294a4fd57ab        About a minute ago   1.84GB
microsoft/dotnet                        2.2-sdk             81d80198a492        3 days ago           1.73GB
Test the image locally with the following command which will run a Docker container locally on port 8080 from our newly-created container image:
$ docker run -p 8080:8080 gcr.io/${PROJECT_ID}/hello-dotnet:v1
...
Hosting environment: Production
Content root path: /app
Now listening on: http://[::]:8080
Application started. Press Ctrl+C to shut down.
And again take advantage of the Web preview feature of CloudShell, and we should see the default ASP.NET Core webpage in a new tab.
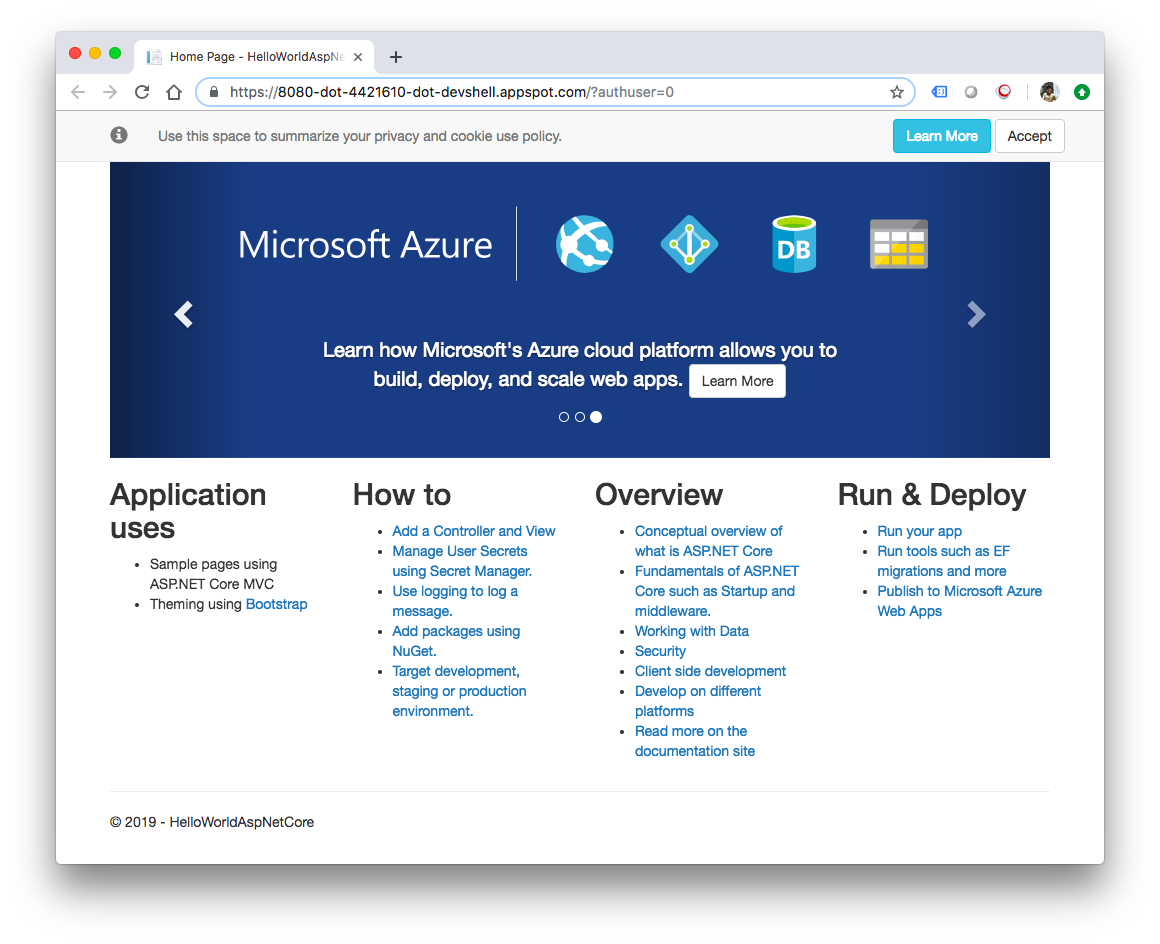
Once we verify that the app is running fine locally in a Docker container, we can stop the running container by Ctrl C.
Now that the image works as intended, we can push it to the Google Container Registry, a private repository for our Docker images accessible from every Google Cloud project (but also from outside Google Cloud Platform):
$ docker push gcr.io/${PROJECT_ID}/hello-dotnet:v1
The push refers to repository [gcr.io/hello-node-231518/hello-dotnet]
...
v1: digest: sha256:377b042325dae7f14f281a5d123f7e7ae86749bdfcc4d68b371d6b63407ee78d size: 2848
If all goes well and after a little while, we should be able to see the container image listed in the Container Registry section. At this point we now have a project-wide Docker image available which Kubernetes can access and orchestrate as we'll see in a few minutes.
To create a new cluster with Istio enabled with mutual TLS between sidecars enforced by default, run this command:
$ gcloud beta container clusters create hello-istio --project=$PROJECT_ID --addons=Istio --istio-config=auth=MTLS_STRICT --cluster-version=latest --machine-type=n1-standard-2 --region us-central1
kubeconfig entry generated for hello-istio.
NAME         LOCATION     MASTER_VERSION  MASTER_IP      MACHINE_TYPE   NODE_VERSION   NUM_NODES  STATUS
hello-istio  us-central1  1.12.5-gke.10   35.238.117.28  n1-standard-2  1.12.5-gke.10  3          RUNNING

Wait a few moments while our cluster is set up for us. It will be visible in the Kubernetes Engine section of the Google Cloud Platform console.
It also creates the istio-system namespace along with the required RBAC permissions, and deploys the five primary Istio control plane components:
- Pilot: Handles configuration and programming of the proxy sidecars, and service discovery.
- Telemetry: Gathers telemetry (formerly part of "Mixer")
- Policy: Handles policy decisions for your traffic (formerly part of "Mixer")
- Ingress-Gateway: Handles incoming requests from outside our cluster.
- Citadel: Istio Certificate Authority (formerly known as Istio-Auth or Istio-CA) .
To start using Istio, we don't need to make any changes to the application. When we configure and run the services, Envoy sidecars are automatically injected into each pod for the service.
For that to work, we need to enable sidecar injection for the namespace (‘default') that we use for our microservices. We do that by applying a label:
$ kubectl label namespace default istio-injection=enabled
namespace/default labeled
To verify that the label was successfully applied, run the following command:
$ kubectl get namespace -L istio-injection
default        Active    5m10s     enabled
istio-system   Active    4m34s     disabled
kube-public    Active    5m10s
kube-system    Active    5m10s
The output confirms that sidecar injection is enabled for the default namespace.
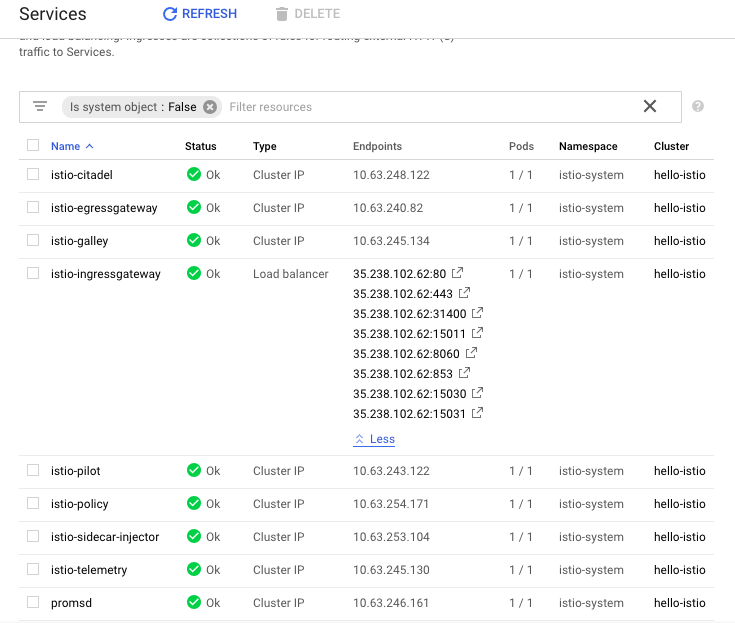
First, ensure the Kubernetes services are deployed:
$ kubectl get svc -n istio-system
NAME                     TYPE           CLUSTER-IP      EXTERNAL-IP     PORT(S)                                                                                                                   AGE
istio-citadel            ClusterIP      10.63.248.122   <none>          8060/TCP,9093/TCP                                                                                                         10m
istio-egressgateway      ClusterIP      10.63.240.82    <none>          80/TCP,443/TCP                                                                                                            10m
istio-galley             ClusterIP      10.63.245.134   <none>          443/TCP,9093/TCP                                                                                                          10m
istio-ingressgateway     LoadBalancer   10.63.241.81    35.238.102.62   80:31380/TCP,443:31390/TCP,31400:31400/TCP,15011:30765/TCP,8060:32578/TCP,853:31523/TCP,15030:32209/TCP,15031:32070/TCP   10m
istio-pilot              ClusterIP      10.63.243.122   <none>          15010/TCP,15011/TCP,8080/TCP,9093/TCP                                                                                     10m
istio-policy             ClusterIP      10.63.254.171   <none>          9091/TCP,15004/TCP,9093/TCP                                                                                               10m
istio-sidecar-injector   ClusterIP      10.63.253.104   <none>          443/TCP                                                                                                                   10m
istio-telemetry          ClusterIP      10.63.245.130   <none>          9091/TCP,15004/TCP,9093/TCP,42422/TCP                                                                                     10m
promsd                   ClusterIP      10.63.246.161   <none>          9090/TCP                                                                                                                  10m
Next, make sure that the corresponding Kubernetes pods are deployed and all containers are up and running:
$ kubectl get pods -n istio-system
NAME                                      READY     STATUS      RESTARTS   AGE
istio-citadel-7d7bb58cd7-lvz4p            1/1       Running     0          14m
istio-cleanup-secrets-brl8k               0/1       Completed   0          14m
istio-egressgateway-764d46c6d5-kbrtq      1/1       Running     0          14m
istio-galley-845d5d596-nwr7s              1/1       Running     0          14m
istio-ingressgateway-5b7bf67c9b-xlwl7     1/1       Running     0          14m
istio-pilot-668bf94f44-mxvch              2/2       Running     0          14m
istio-policy-556ff56f5c-nmcq9             2/2       Running     0          14m
istio-sidecar-injector-65797b8bcd-lw6xm   1/1       Running     0          14m
istio-telemetry-57464b9744-jwr8l          2/2       Running     0          14m
promsd-8cc5d455b-dcjbf                    2/2       Running     1          14m
After all the pods are marked as running, we can proceed. We might have some post-install and cleanup pods marked as completed, instead of running, and that's ok.
Now we've verified that Istio is installed and running, we can deploy the ASP.NET Core app.
First, create an aspnetcore.yaml file and define the Kubernetes Deployment and Service for the app.
Note: Make sure that replace YOUR-PROJECT-ID with the id of the project
apiVersion: v1
kind: Service
metadata:
  name: aspnetcore-service
  labels:
    app: aspnetcore
spec:
  ports:
  - port: 8080
    name: http
  selector:
    app: aspnetcore
---
apiVersion: extensions/v1beta1
kind: Deployment
metadata:
  name: aspnetcore-v1
spec:
  replicas: 1
  template:
    metadata:
      labels:
        app: aspnetcore
        version: v1
    spec:
      containers:
      - name: aspnetcore
        image: gcr.io/YOUR-PROJECT-ID/hello-dotnet:v1
        imagePullPolicy: IfNotPresent
        ports:
        - containerPort: 8080
The contents of the file are standard Deployments and Services to deploy the application and don't contain anything Istio-specific.
Deploy the services to the default namespace with kubectl:
$ kubectl apply -f aspnetcore.yaml
service/aspnetcore-service created
deployment.extensions/aspnetcore-v1 created
Verify that pods are running:
$ kubectl get pods
NAME                             READY     STATUS    RESTARTS   AGE
aspnetcore-v1-5fd9c4dfc4-5hjc5   2/2       Running   0          2m45s
Notice that each pod includes two containers. Those are the application container and the Istio proxy sidecar container. The proxies were injected automatically when the pods started.
To allow ingress traffic to reach the mesh we need to create a Gateway and a VirtualService.
A Gateway configures a load balancer for HTTP/TCP traffic, most commonly operating at the edge of the mesh to enable ingress traffic for an application. A VirtualService defines the rules that control how requests for a service are routed within an Istio service mesh.
Create a aspnetcore-gateway.yaml file to define the Gateway:
apiVersion: networking.istio.io/v1alpha3
kind: Gateway
metadata:
  name: aspnetcore-gateway
spec:
  selector:
    istio: ingressgateway # use istio default controller
  servers:
  - port:
      number: 80
      name: http
      protocol: HTTP
    hosts:
    - "*"
Create a aspnetcore-virtualservice.yaml file to define the VirtualService:
apiVersion: networking.istio.io/v1alpha3
kind: VirtualService
metadata:
  name: aspnetcore-virtualservice
spec:
  hosts:
  - "*"
  gateways:
  - aspnetcore-gateway
  http:
  - route:
    - destination:
        host: aspnetcore-service
Run the kubectl command to deploy the Gateway with:
$ kubectl apply -f aspnetcore-gateway.yaml
gateway.networking.istio.io/aspnetcore-gateway created
Next, run the following command to deploy the VirtualService:
$ kubectl apply -f aspnetcore-virtualservice.yaml
virtualservice.networking.istio.io/aspnetcore-virtualservice created
Verify that everything is running:
$ kubectl get gateway
NAME                 AGE
aspnetcore-gateway   1m
$ kubectl get virtualservice
NAME                        AGE
aspnetcore-virtualservice   1m
Congratulations! We have just deployed an Istio-enabled application. Next, we see the application in use.
We can finally see the application in action. We need to get the external IP and port of the gateway. It's listed under EXTERNAL-IP:
$ kubectl get svc istio-ingressgateway -n istio-system
NAME                   TYPE           CLUSTER-IP     EXTERNAL-IP     PORT(S)                                                                                                                   AGE
istio-ingressgateway   LoadBalancer   10.63.241.81   35.238.102.62   80:31380/TCP,443:31390/TCP,31400:31400/TCP,15011:30765/TCP,8060:32578/TCP,853:31523/TCP,15030:32209/TCP,15031:32070/TCP   34m
Export the external IP and port to a GATEWAY_URL variable:
$ export INGRESS_HOST=$(kubectl -n istio-system get service istio-ingressgateway -o jsonpath='{.status.loadBalancer.ingress[0].ip}')

$ export INGRESS_PORT=$(kubectl -n istio-system get service istio-ingressgateway -o jsonpath='{.spec.ports[?(@.name=="http2")].port}')

$ export GATEWAY_URL=$INGRESS_HOST:$INGRESS_PORT

$ echo $GATEWAY_URL
35.238.102.62:80
Use curl to test out the app. The service should respond with a response code of 200:
$ curl -o /dev/null -s -w "%{http_code}\n" http://${GATEWAY_URL}/
200
Alternatively, we can open up the browser, navigate to http://
We just deployed a simple ASP.NET Core app to Kubernetes running on Google Kubernetes Engine (GKE) and configured its traffic to be managed by Istio.
To delete the app:
kubectl delete -f aspnetcore-gateway.yaml
Kubectl delete -f aspnetcore-virtualservice.yaml
kubectl delete -f aspnetcore.yaml
To confirm that the app is gone:
kubectl get gateway
kubectl get virtualservices
kubectl get pods
To delete Istio:
kubectl delete -f install/kubernetes/istio-demo-auth.yaml
To confirm that Istio is gone:
kubectl get pods -n istio-system
Delete Kubernetes cluster
gcloud container clusters delete hello-istio


No comments:
Post a Comment