In this tutorial, we are going to cover Asp Net Core 3.0 Web API Versioning best practices using Visual Studio 2019. We will see different ways to implement API versioning in Asp.Net Core 3.0 application like URL based versioning, Query string based versioning, and then header based versioning. In one of the previous tutorials, we have discussed how to create web API in Asp.Net Core 3.0 application and then we have also discussed Asp Net Core 3.0 Web API token based authentication using JWT in visual studio 2019. So, let’s see how to implement API Versioning in Asp.Net Core 3.0 web API application.
What will you learn in this tutorial?
We will learn lots of concepts in this tutorial using simple example.
- How to create web API in Asp.Net Core 3.0 application?
- How to install versioning package? E.g. Microsoft.AspNetCore.Mvc.Versioning
- How to implement URL Based Versioning?
- How to implement Query string based versioning?
- How to implement Http header based versioning?
- How to test Http header based versioning in postman?
- How to deprecate the specfic API version?
- How to remove the version from the specific API?
Prerequisite of this tutorial:
- .NET Core 3.0
- Visual Studio 2019
ASP.NET Core 3.0 RESTful web api versioning best practices
Let’s see how to implement API versioning in Asp.Net Core 3.0 Web API application using simple example in visual studio 2019.
Step # 1: Create a Web API
In this step, we will see how to create a web api in Asp Net Core 3.0 application using visual studio 2019. So, open visual studio 2019 => then click on the “Create a new project” button => and then choose “ASP.NET Core Web Application” => and then click on the “Next” button => and then enter the project name and then choose location and then click on the “Create” button.
Now, choose “Asp.Net Core 3.0” from the drop-down and then choose “API” template from the template pane and then click on the “Create” button.

Then it will create a new Asp.Net Core 3.0 web API project as you do see below in the screenshot.
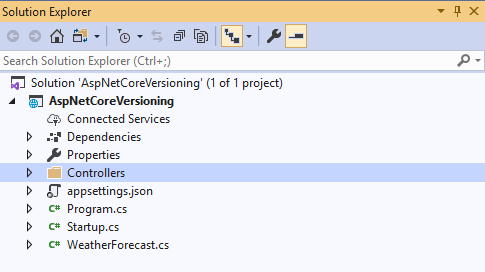
Now, we will add a new API in our project. So, right click on the Controllers folder and then click on add and then click on the New Item and then choose API Controller Class from the middle pane and then enter the name in the Name field and then click on the Add button. It will add a new API Controller class in your project.
Step # 2: Install Microsoft Versioning Package
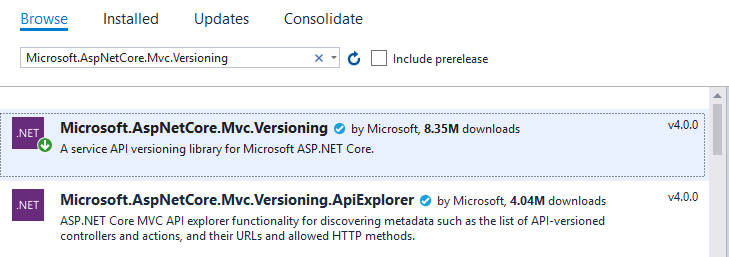
Now, in this step, we will add Microsoft Versioning package (E.g. Microsoft.AspNetCore.Mvc.Versioning). So, go to NuGet Package Manager and then browse “Microsoft.AspNetCore.Mvc.Versioning” and then click on the Install button.
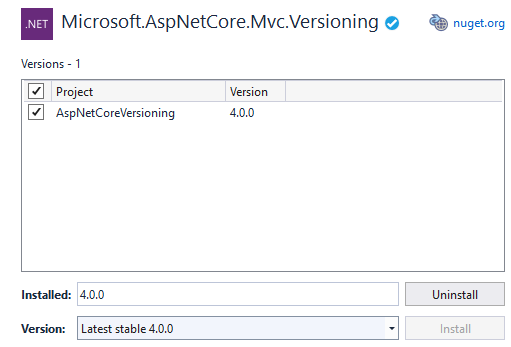
It will take some time, and then it will be installed within your project as you do see below in the screenshot.
Step # 3: Implement API Versioning in Asp Net Core 3.0 application using Visual Studio 2019.
Now, in this step we will cover all the ways to implement API versioning in Asp.Net Core 3.0 application using visual studio 2019. So, let’s start step by step.
Add Service in the ConfigureServices method
First-of-all, we need to add API versioning service within our ConfiugreService method in the Startup class. So, go to Startup.cs class and then add some code within the ConfigureService method as you do see below in the file.
Let’s understand the above code.
Line # 6: This line of code is used to add the API versions in the response header.
Line # 7: This line of code is used to set the default version when the client request has not specified any version. Suppose, if we do not add this line of code and the client request has not specified any version, then the “UnsupportedApiVersion” exception will occur. So, to avoid such exceptions, we should add this line of code.
Line # 8: This line of code is used to set the default version count.
URL Based Versioning:
Now, in this point, we will see how to implement URL Based Versioning in Asp Net Core 3.0 application. So, go to your API Controller and then write two APIs as you do see below in the API class.
Let’s understand the above code.
There are two API Controller Classes (ValuesV1Controll & ValuesV2Controller) in this above file. One is starting from Line # 9 and ending it on Line # 20 and the second one is starting from Line # 22 and ending it on Line # 33.
Line # 9: In this line, we are specifying the version of API.
Line # 10: This line of code is used to specify the versioning as URL Based Versioning.
Now, run this project by pressing f5 and then enter the URL for version one API and then you will see the output as you do see below in the screenshot.
URL for Version one API: https://localhost:44358/api/v1.0/values
URL for Version one API: https://localhost:44358/api/v2.0/values

Now, enter the URL for Version two API and then you will see the output as you do see below in the screenshot.

Query String Based Versioning
Now, in this point, we will see how to implement Query String Based Versioning in Asp Net Core 3.0 application. So, go to your API Controller and then write some code as you do see below in the API class.
Let’s understand the above code.
Line # 10: This line of code is used to specify the versioning as Query String Based Versioning.
Now, run this project by pressing f5 and then enter the URL for version one API and then you will see the output as you do see below in the screenshot.
URL for Version one API: https://localhost:44358/api/values?api-version=1.0
URL for Version Two API: https://localhost:44358/api/values?api-version=2.0

Now, enter the URL for Version two API and then you will see the output as you do see below in the screenshot.

Http Header based versioning:
Now, in this point we will see how to implement HTTP header based versioning in Asp.Net Core 3.0 application. And then we will see how to test it with postman. So, go to startup class and then configure service method and then write this below line of code as you do see below in the file.
o.ApiVersionReader = new HeaderApiVersionReader(“x-api-version”);
Line # 9: this line of code is used to implement HTTP header based API versioning.
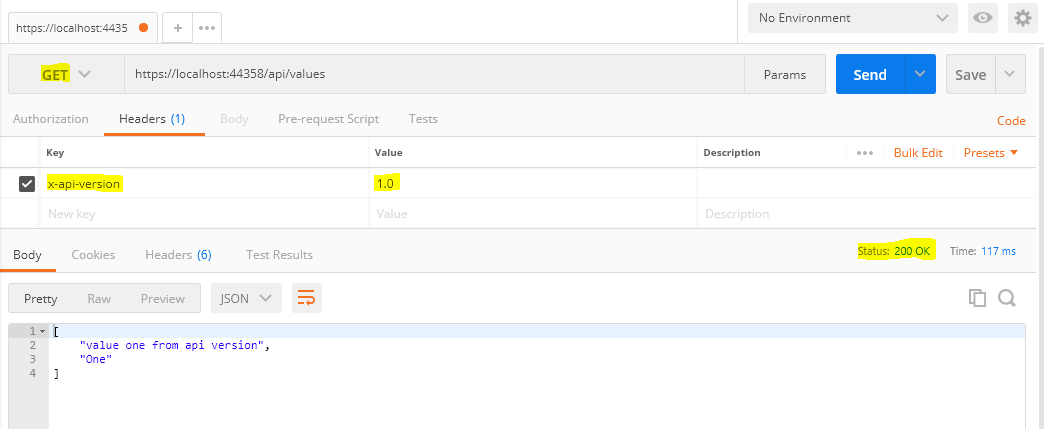
Test Http Header based versioning using Postman:
Now, go to postman and then enter the URL for version one API and then set the header value and then click on the Send button. Then you will see the output as you do see below in the screenshot.
Now, set the header for version two API and then click on the Send button. Then you will see the output as you do see below in the screenshot.

How to deprecate the specfic API version?
Now, in this step we will see how to deprecate the specific API version. Sometime we So, go to API Controller and then just set the Deprecated tag as you do see Line # 9 in the below code file.
How to remove the version from the specific API?
In some cases, we need to remove the version from the specific APIs. In these cases we will add the attribute as you do see line # 1 in the below code file.
Thank you for reading. Please keep visiting and sharing this blog within your community.


No comments:
Post a Comment