Summary : Very simple article to push docker to ACR and use in web app
1. create resource group
az group create --name $(APP_NAME)-rg --location $(LOCATION)
2.launches an Azure Container Registry if one doesn’t exist,
az acr create --resource-group $(APP_NAME)-rg --name $(ACR_NAME) --sku Basic --admin-enabled true
3. Push image to ACR
export THETIMEANDDATE=$(date '+%Y-%m-%d-%H%M')
echo "$THETIMEANDDATE will be the point in time tag"
az acr login --name $(ACR_NAME)
docker image build -t $(IMAGE_NAME) ./
docker image tag $(IMAGE_NAME) $(ACR_NAME).azurecr.io/$(IMAGE_NAME):latest
docker image tag $(IMAGE_NAME) $(ACR_NAME).azurecr.io/$(IMAGE_NAME):$THETIMEANDDATE
docker image push $(ACR_NAME).azurecr.io/$(IMAGE_NAME):latest
docker image push $(ACR_NAME).azurecr.io/$(IMAGE_NAME):$THETIMEANDDATE
4 configures and launches an App Service Plan, App Service and then configures automatic deployment
az webapp config container set --resource-group $(APP_NAME)-rg --name $(APP_NAME)
--docker-custom-image-name $(ACR_NAME).azurecr.io/$(IMAGE_NAME):latest
--docker-registry-server-url https://$(ACR_NAME).azurecr.io
az webapp deployment container config
--resource-group $(APP_NAME)-rg
--name $(APP_NAME)
--enable-cd true
As I move into using Azure DevOps more and more, there is one thing which I really haven’t got on with and that is release pipelines. I didn’t like that I couldn’t easily define it as YAML like I could with build pipelines, even though I don’t like them, there are a few things I do like — like approval gates.
Environments
Luckily, there are ways to get around this — the most simple way is to add an Environment and then add an Approval. Adding an Environment is simple enough, just click on Environment in your Pipeline and then add one with None selected under Resource;
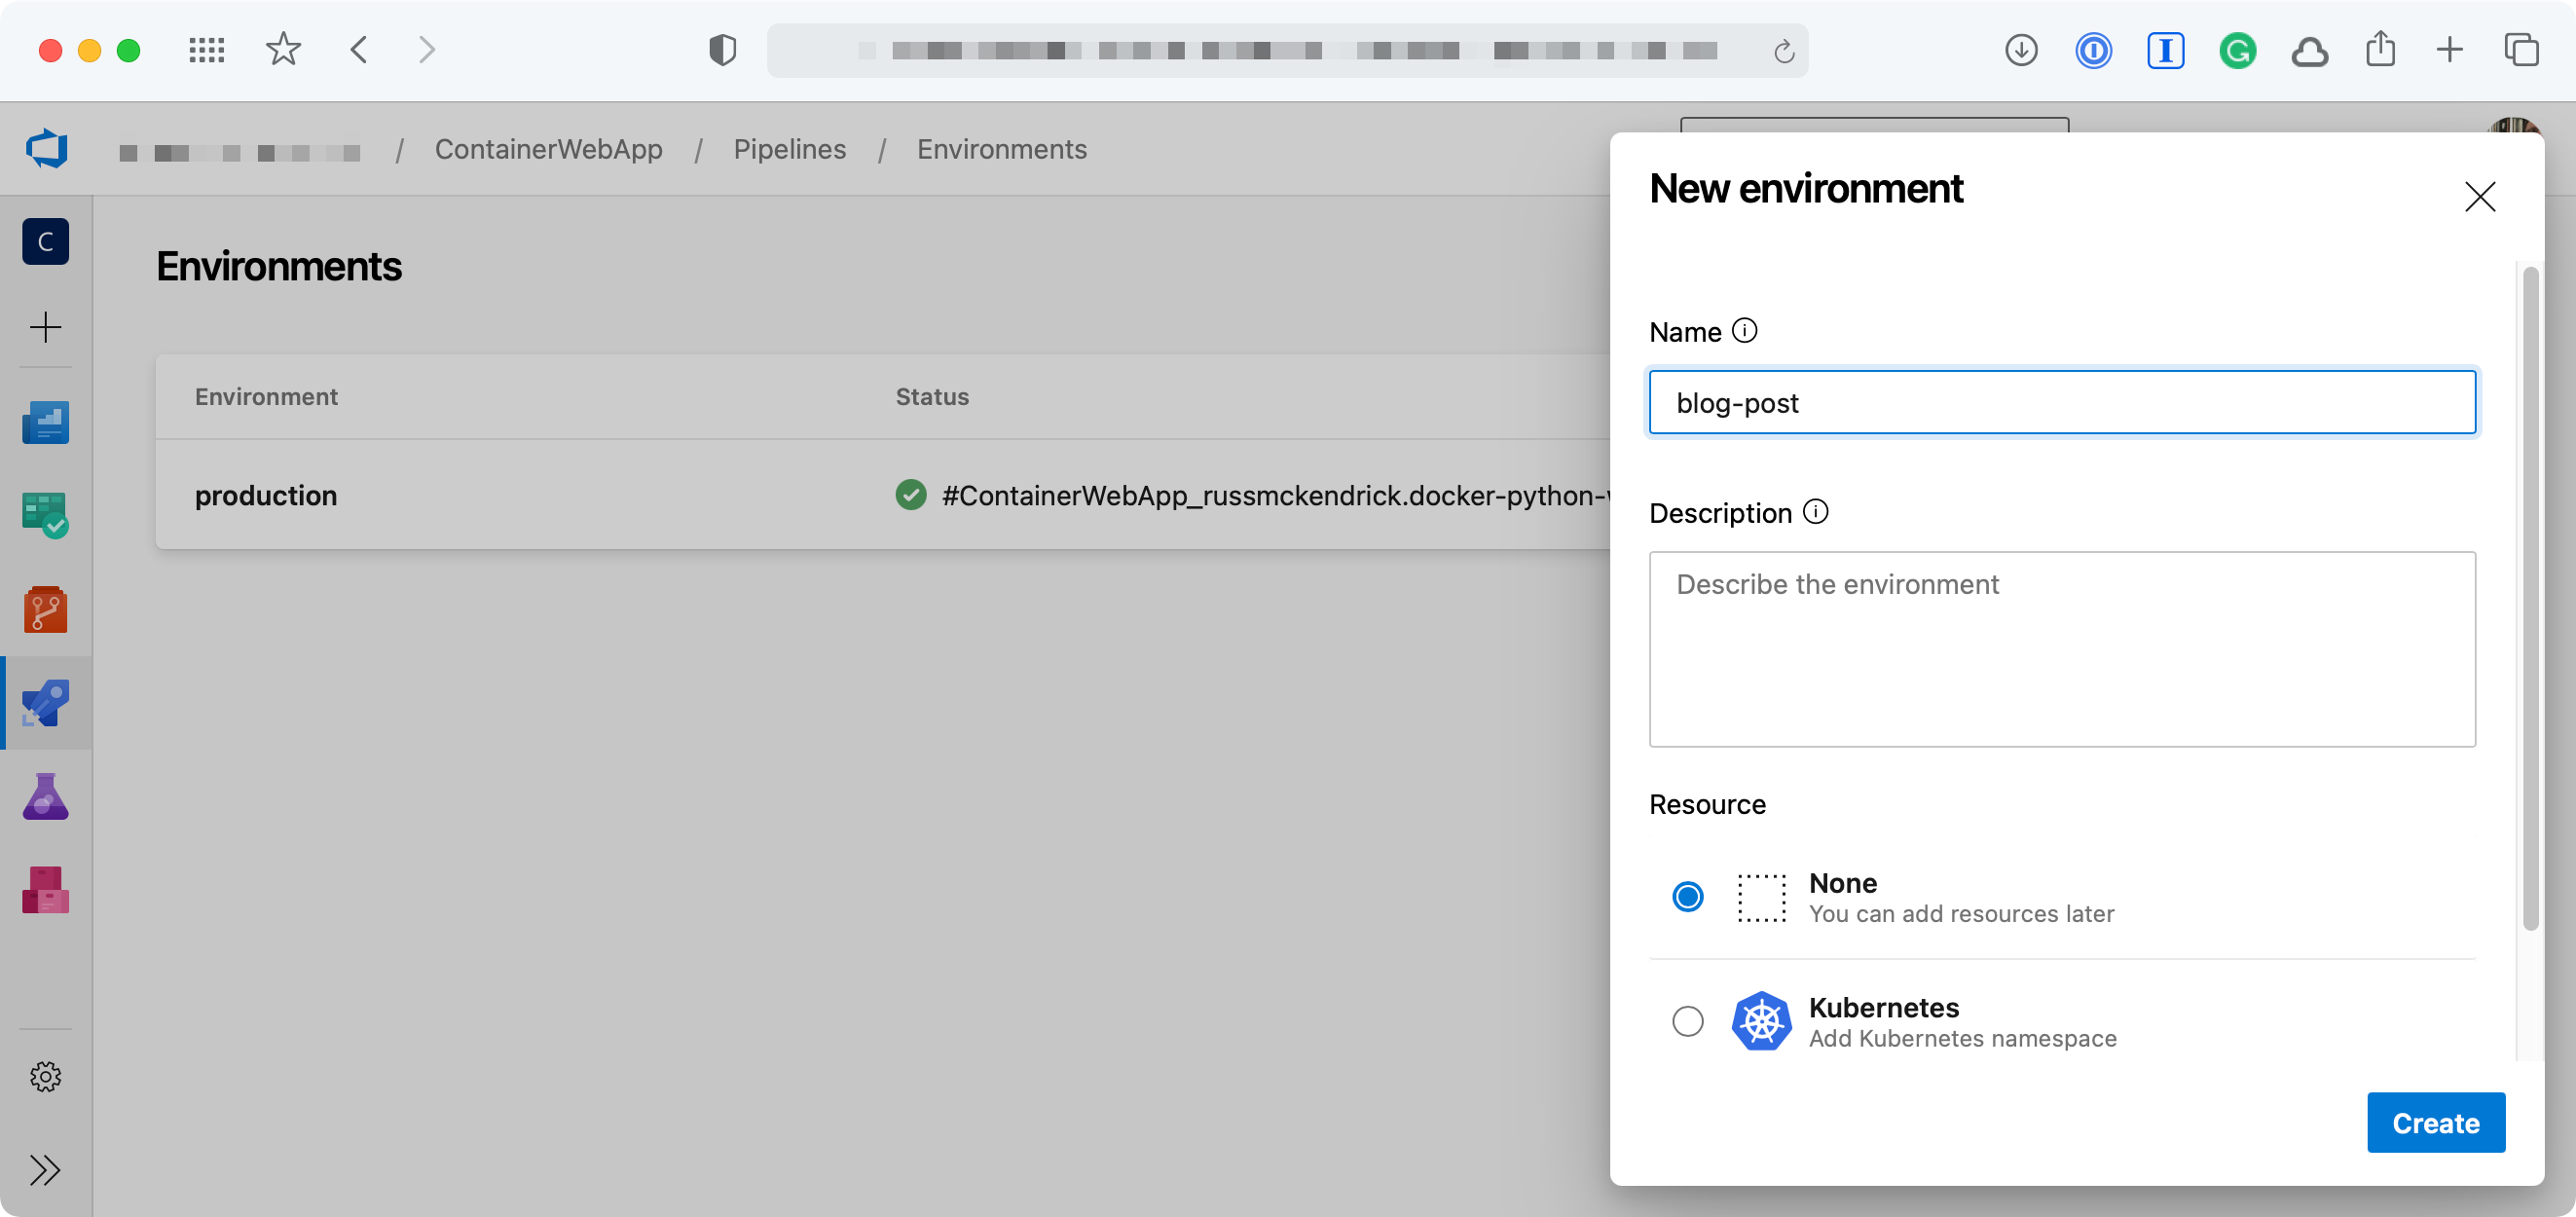
Adding an environment {Source: MediaGlasses}
Once you have added the Environment you can then add an approval check, to do this click on the Environment you have just created and click on the three dots in the top right-hand side of the page. From the menu select Approvals and checks;
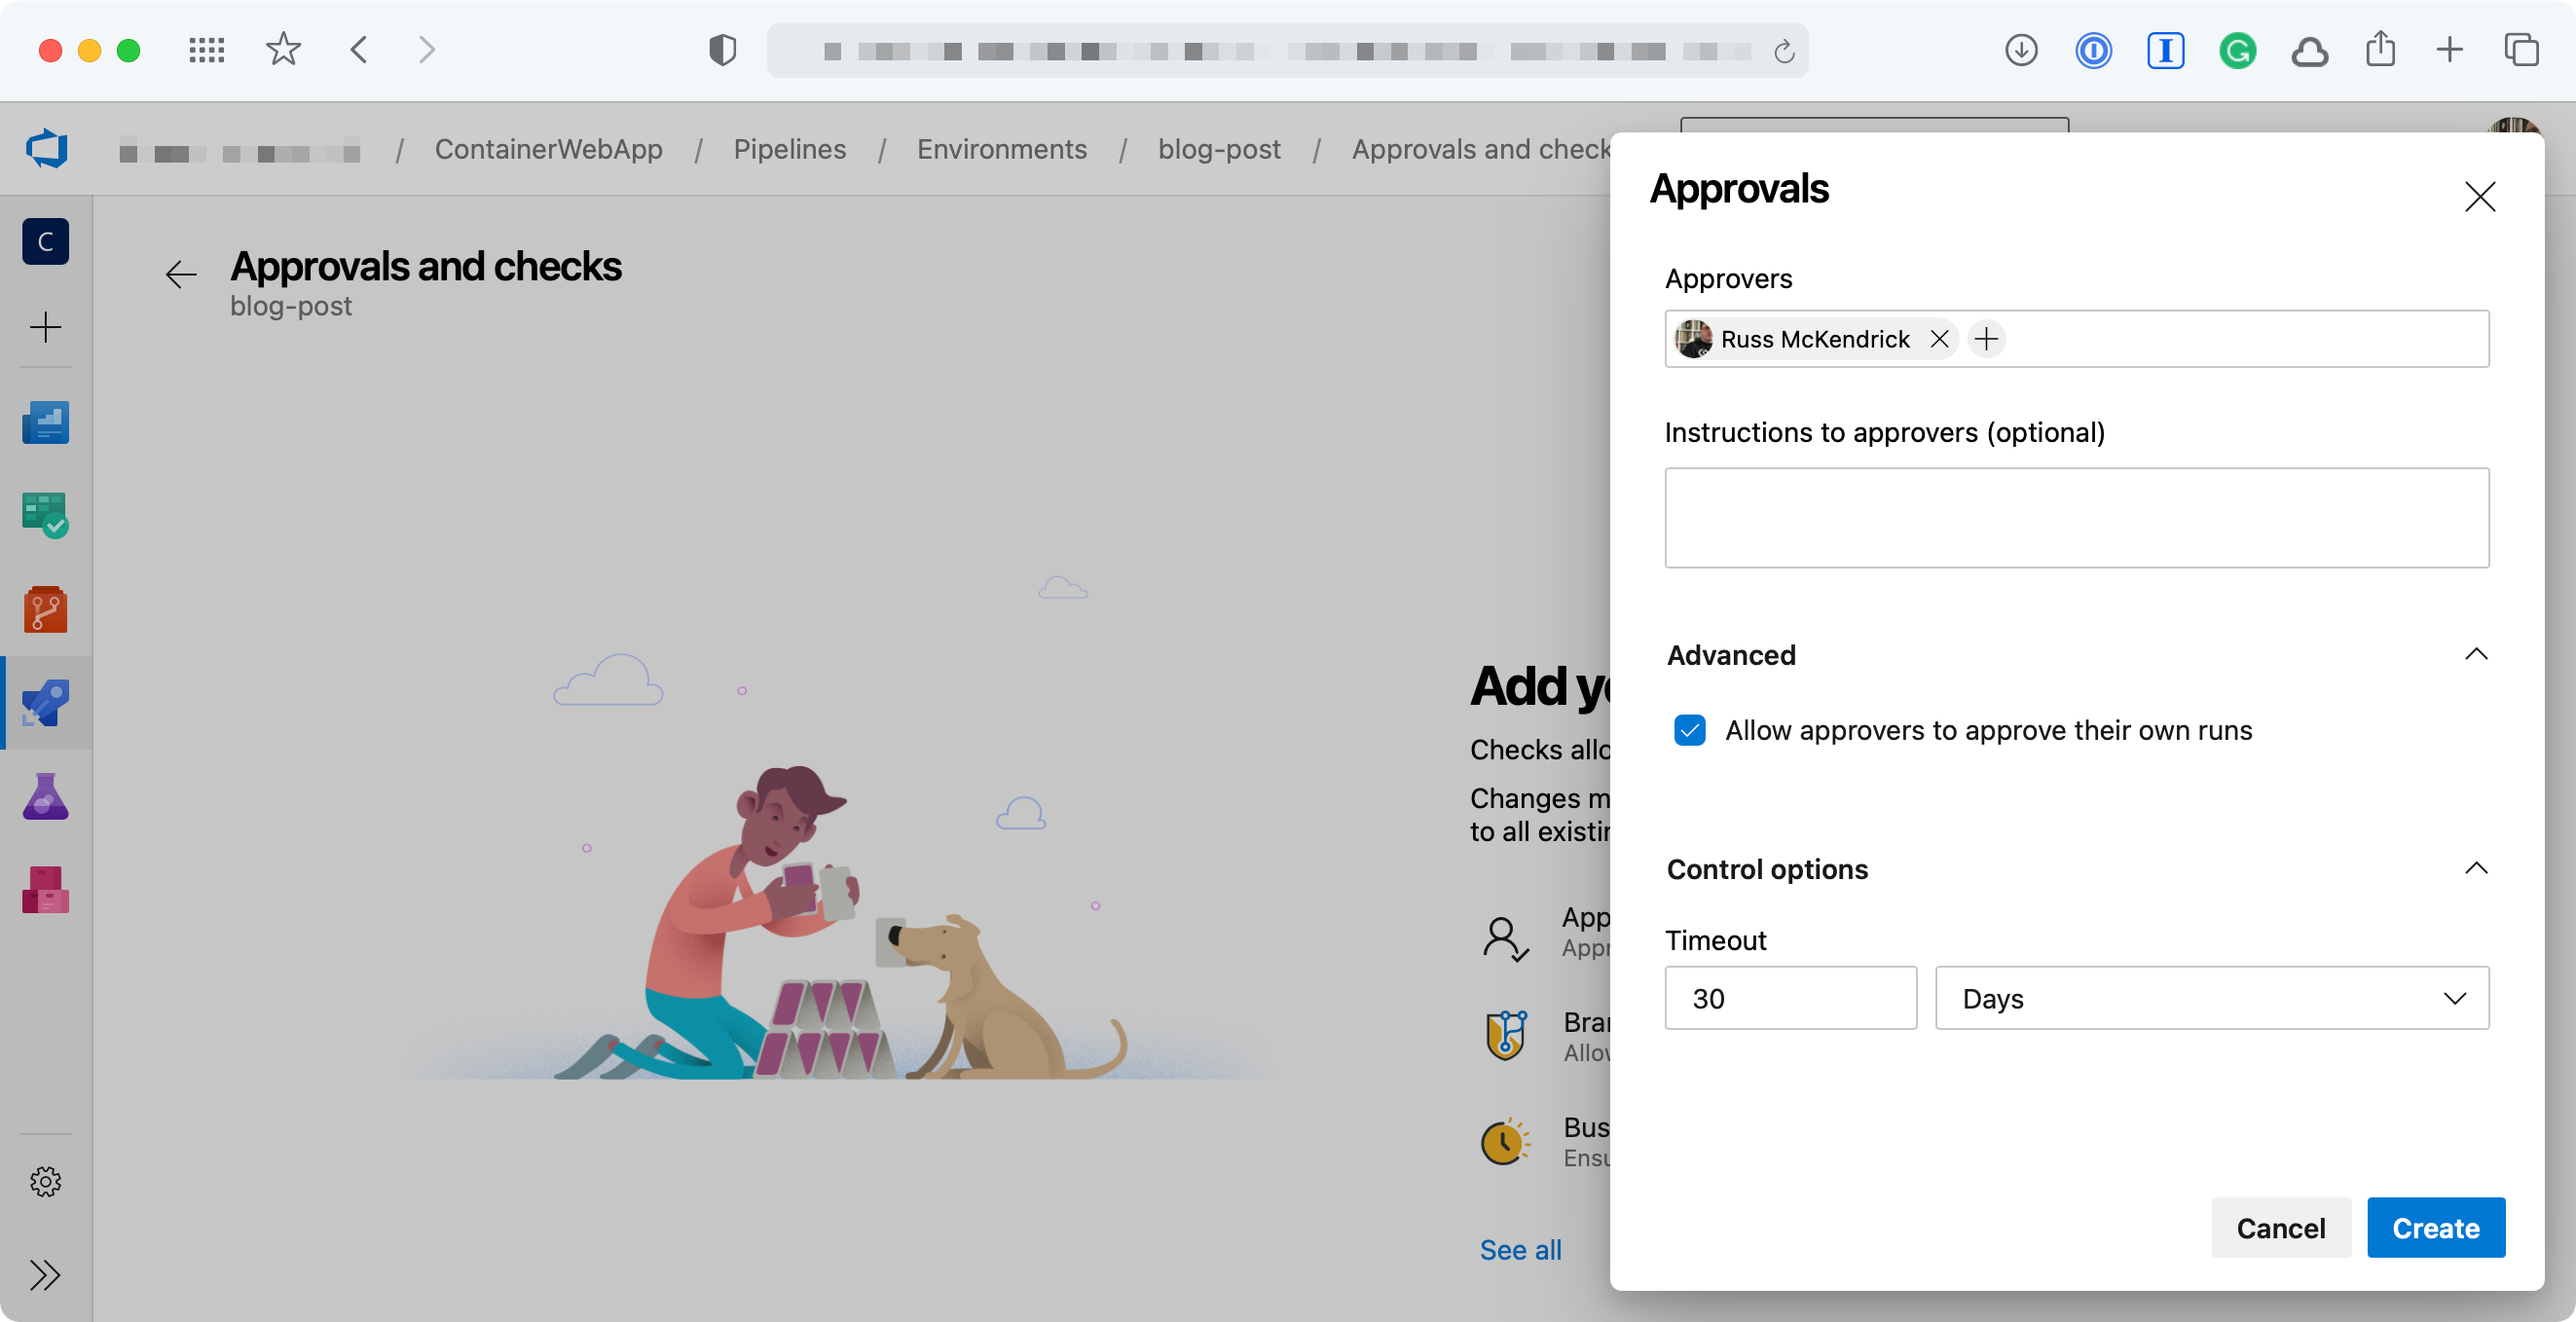
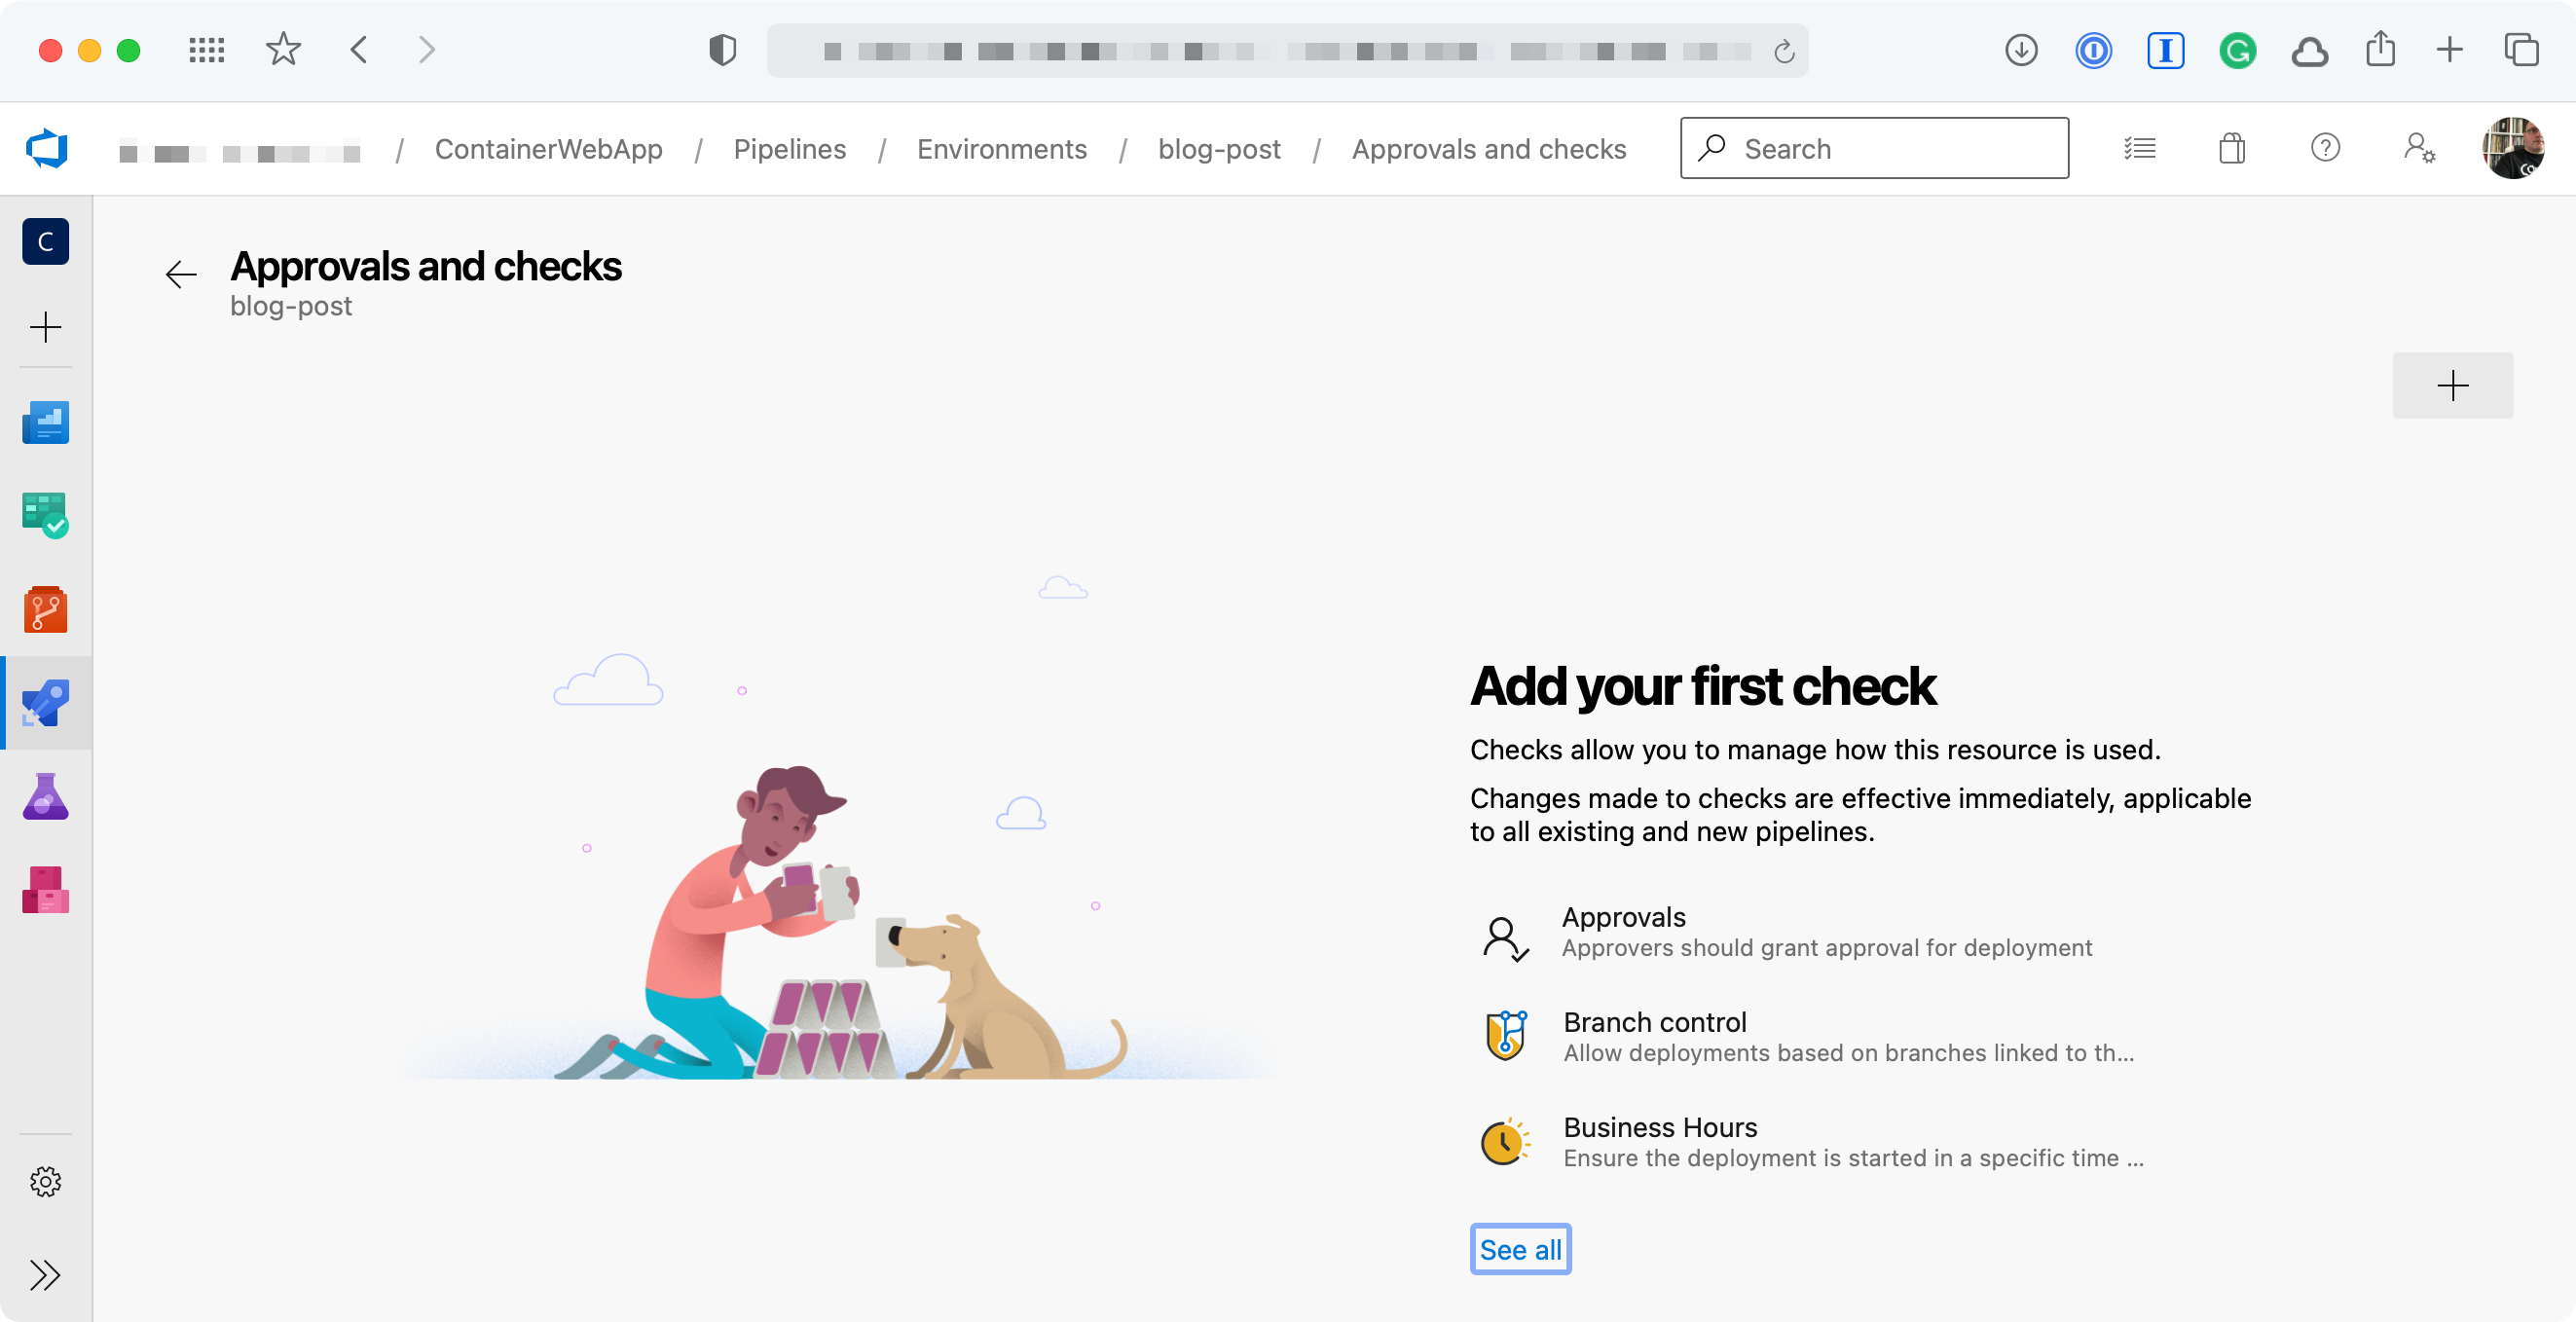
Adding an approval {Source: MediaGlasses}
Now we have an Environment and the Approval in place we can move onto the Pipeline.
Pipeline
I already had a multi-stage pipeline I have been using to demo a container build, so I decided to adapt that as it made sense to slot in an approval at the stage where our container image is built, tagged and pushed, there are a few stages before that though so lets take a quick look at those.
First up is the stage where the Resource Group is created;
As you can see, I am using the Azure CLI and variables which are defined in the header of the Pipeline.
Once the Resource Group has been created the next stage launches an Azure Container Registry if one doesn’t exist, if there is already one there then nothing happens;
As you can see, rather than defining a job we are using a deployment this means we can then use the environment we created and because the environment is what our approval is attached to the deployment won’t progress until approved.
One thing to note here is that there are two steps, the first checkout step downloads a copy of the repo which our azure-pipelines.yml and Dockerfile are in, without this step the build would fail.
The second step builds, tags and then pushes the image to the Azure Container Registry launched in the previous stage.
The remaining stage, assuming the previous three stages have all completed, configures and launches an App Service Plan, App Service and then configures automatic deployment of any subsequent images which are pushed to our Azure Container Registry, as you can see the code below the steps are only executed if the App Service Plan has not been configured, if our Application is already running then these steps are skipped;
A full copy of the azure-pipelines.yml file can be found in the following repo https://github.com/russmckendrick/docker-python-web-app.
Running the Pipeline
Now that we know what the pipeline looks like this what happened when it executed for the first time, first off, you (or whoever your approver is) will get an email;
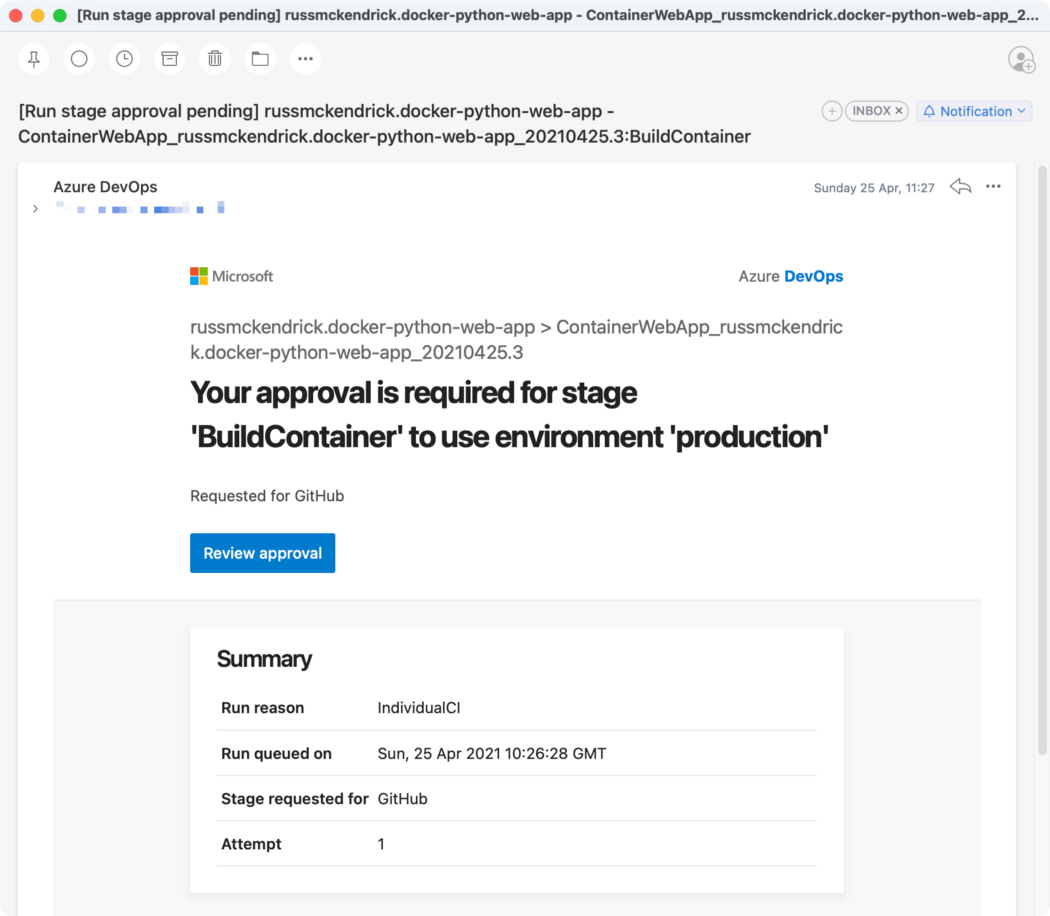
The approval email {Source: MediaGlasses}
Once you click through to approve the deployment you should see something which looks like the following;
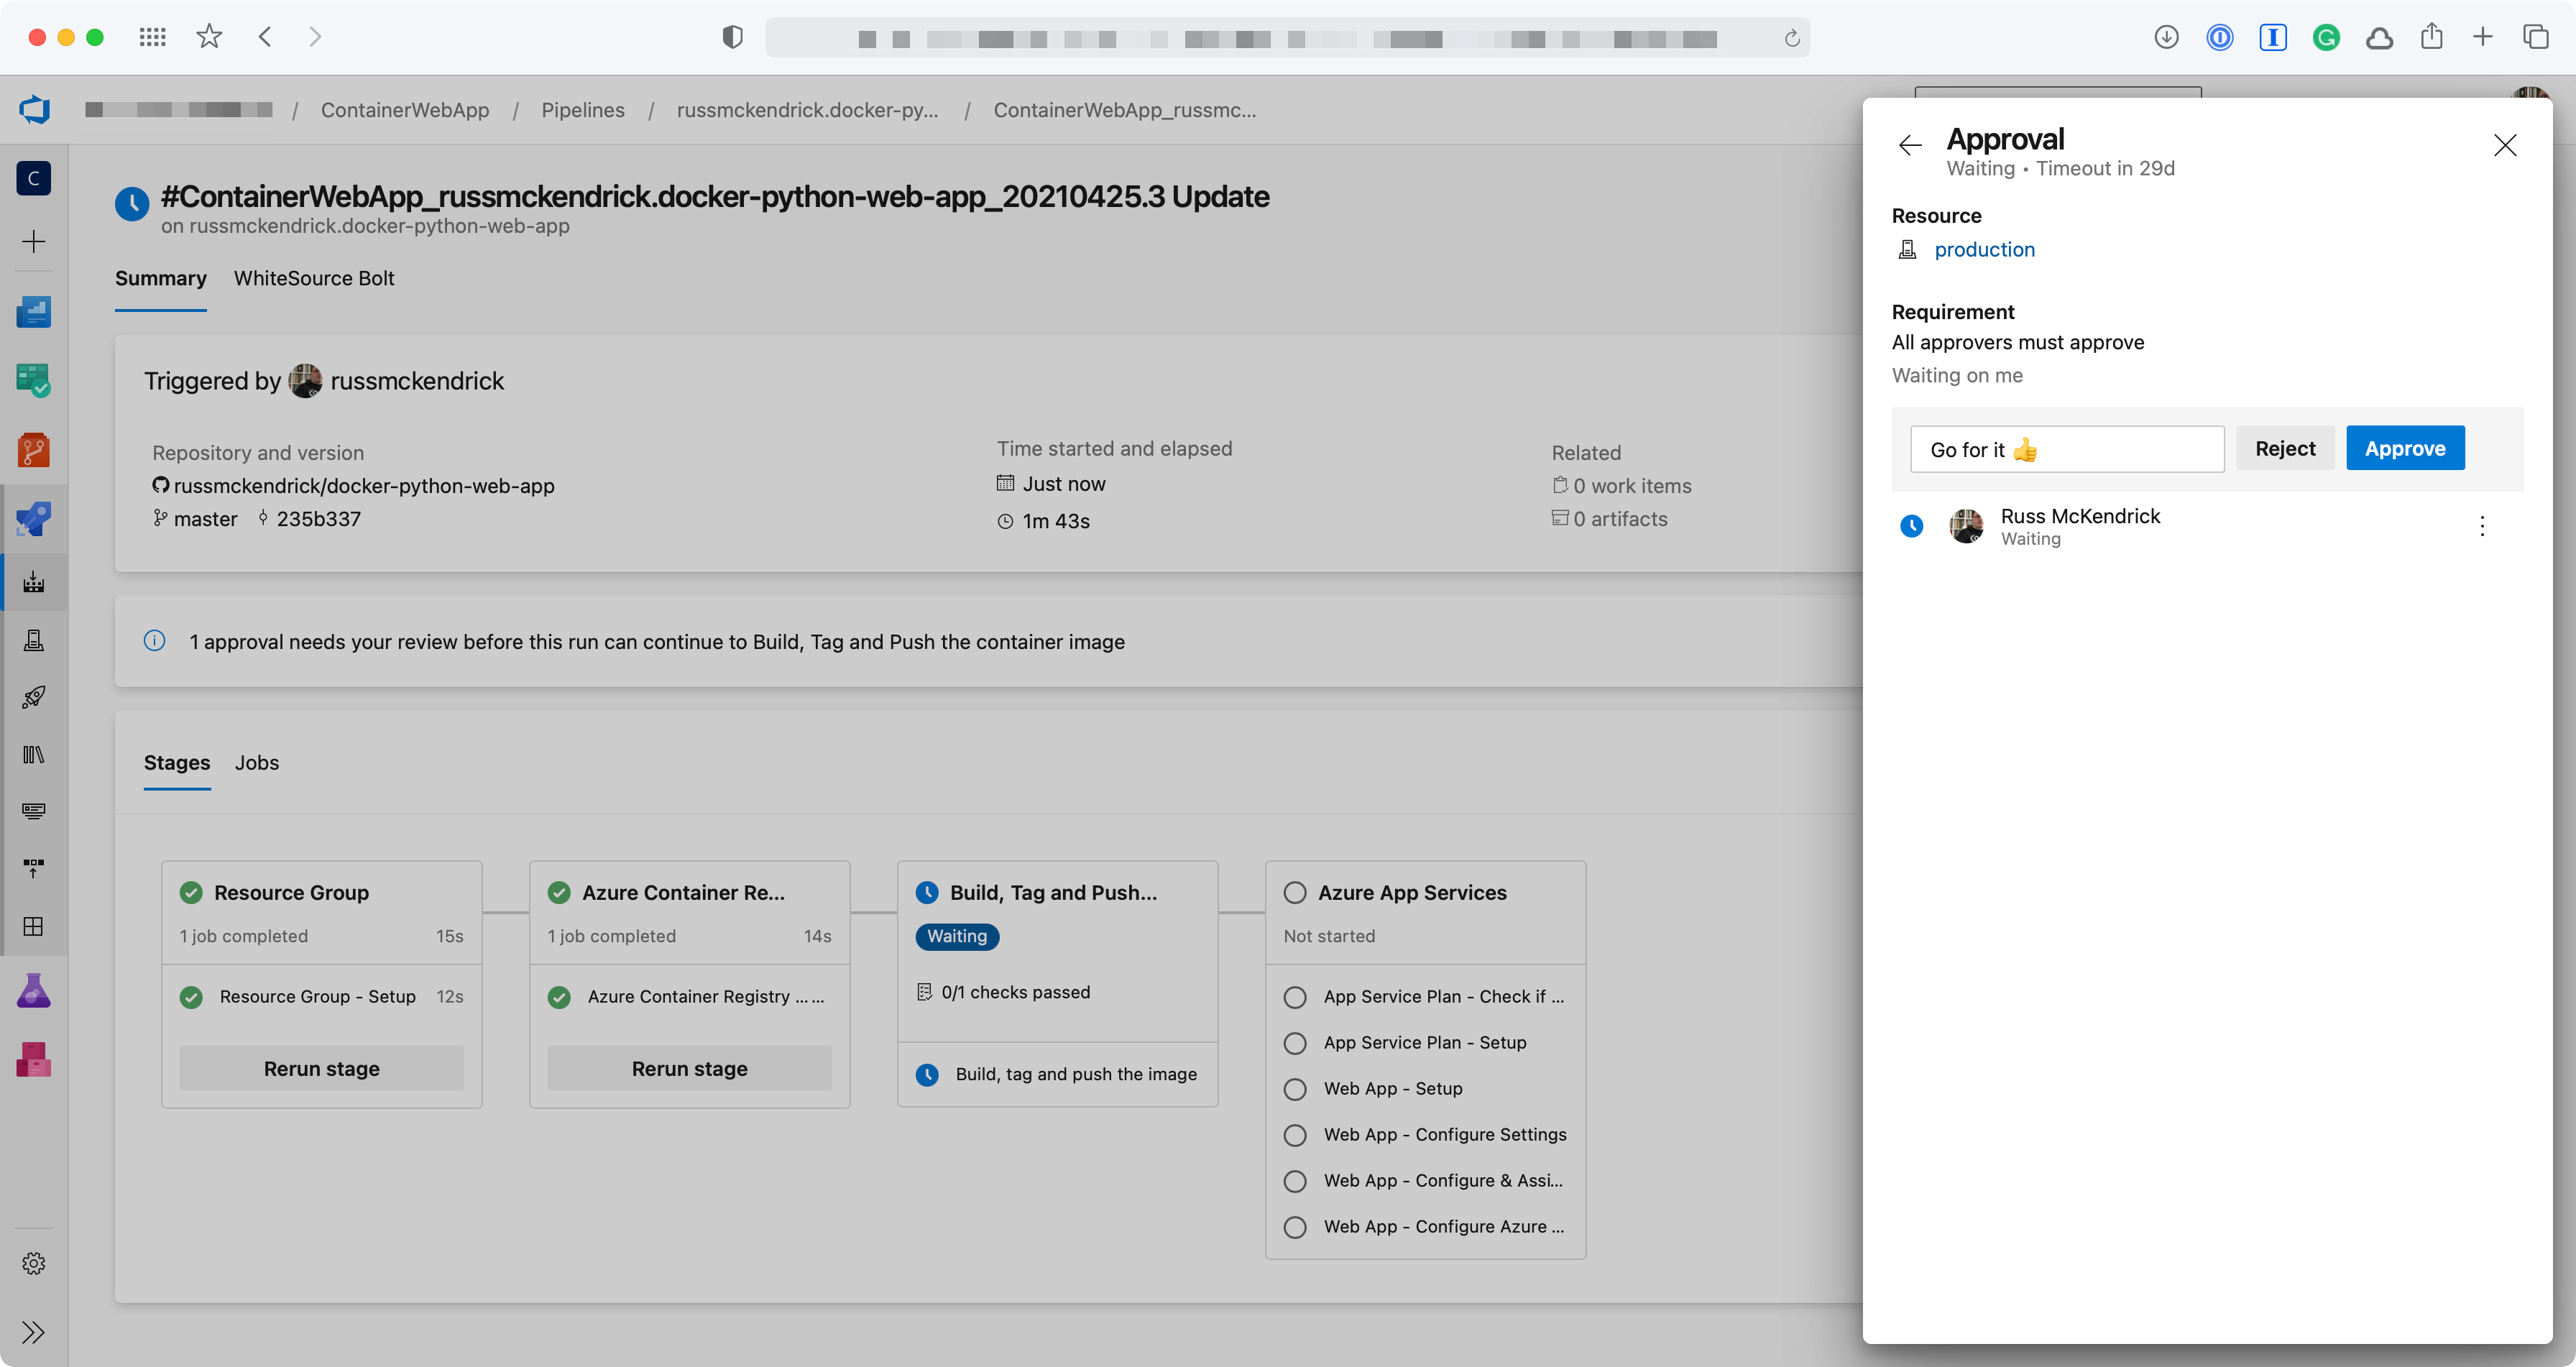
When the pipeline is next triggered you should see something like the following;
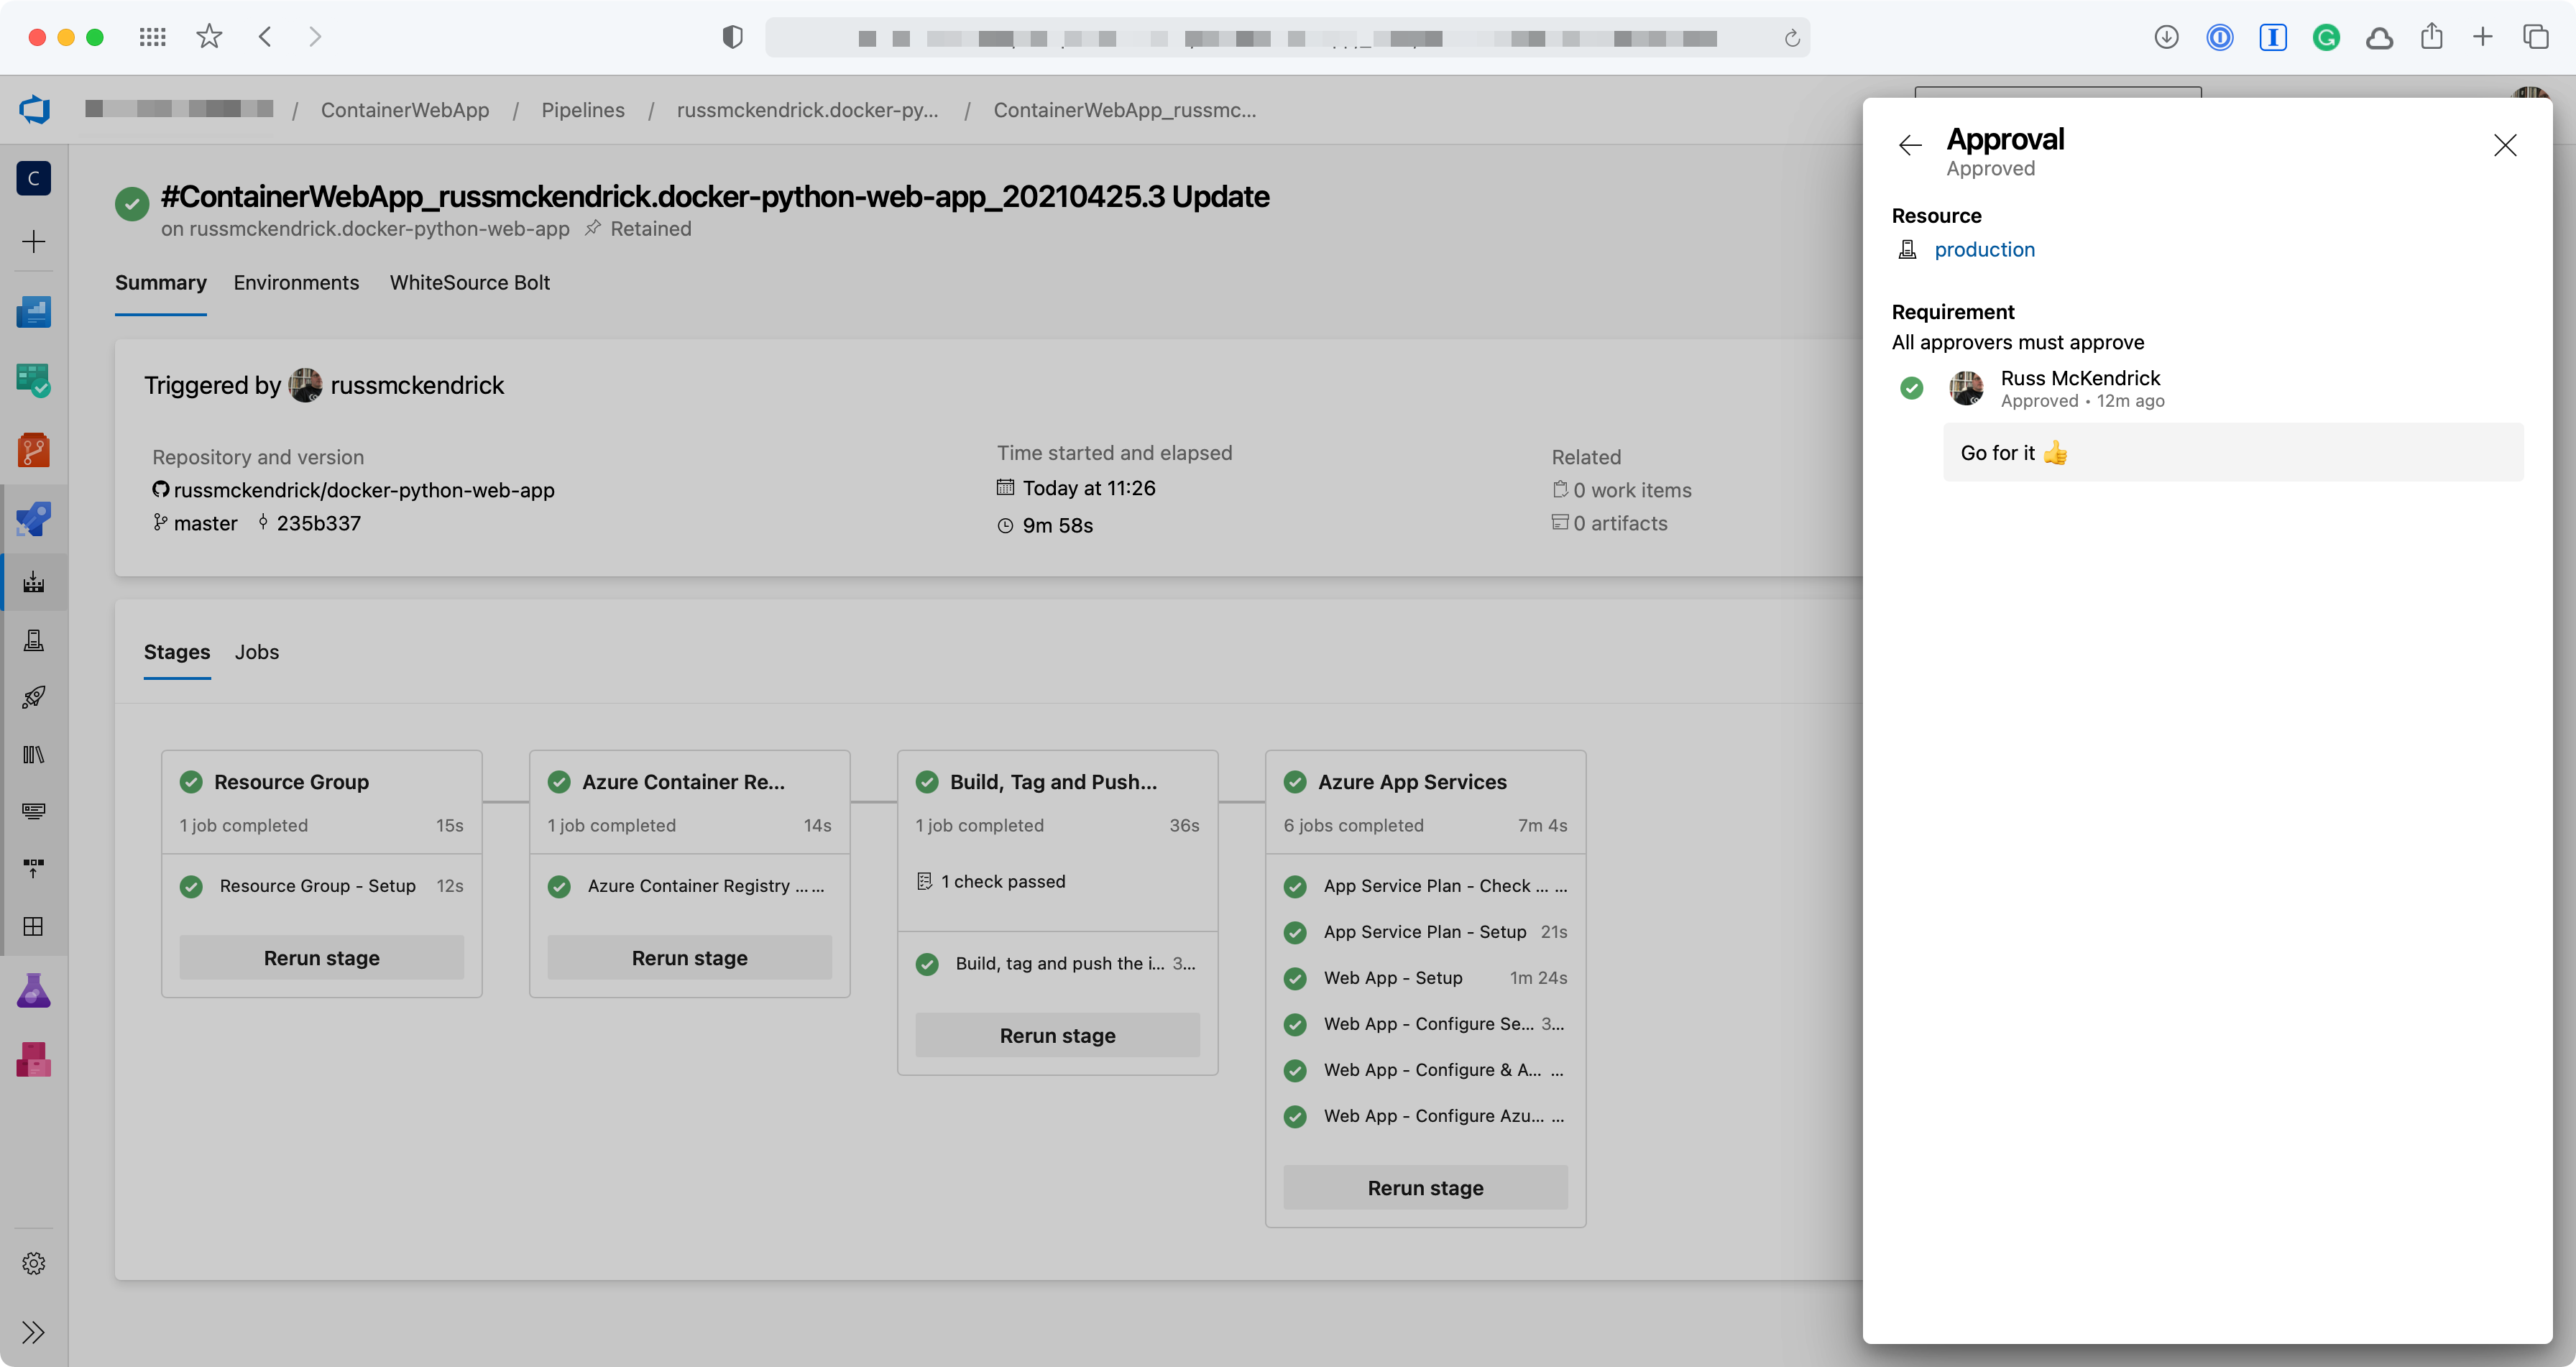
This time, other than checking to see if the application has already been deployed everything else in the fourth stage has been skipped.
 by
by
No comments:
Post a Comment