Overview of Liquibase
Liquibase is an open source java based library which can be used to define, deploy and manage database changes against all major database management systems. It is more covered in the detail here. In the mentioned post, we have discussed basic concepts of liquibase and how it works with demonstration. We have discussed setup and configuration of liquibase in this post. You need to be familiar with the same before moving on.
Creating Liquibase Specific configuration
Create the liquibase.properties file
The starting point for Liquibase is liquibase.properties file which is used to store Liquibase configuration settings and database connection information. By default it searches for file named liquibase.properties to find out the configuration but this file can have any name. Below is one of the samples for the file:
 by
by In above file, driver represents the JDBC driver for the target database system, classpath represents the filepath to find the JDBC driver, url represents the connection url and username,password represents the authentication information for the target database system.
We’ll replace above mentioned values with the appropriate values of the target database.
Specifying database changes using changeLogFile file
Note that almost all the values mentioned in the liquibase.properties file specify the properties of the target values. So how do we define database changes? That is mentioned using the src/main/resources/db.changelog.xml file and it is called as the changeLog file. The changeLogFile contains the changesets or references to the target sql changes that needs to be executed. The contents of the changeLogFile typically looks like this:
In the above code, the databaseChangeLog tag determines the schema version for liquibase. The include tag contains the references to the sql files containing database code for the execution. The path for the files can be or cannot be relative to the location of databaseChangeLog file. If it is relative to the changeLogFile location, we need to add an attribute named relativeToChangelogFile inside the include tag and set it to true.
Defining Database Changes
Database changes can be mentioned in four formats: XML, JSON, YAML and native SQL. All of these options are discussed in this blog post. Native SQL is most preferred way since there is no need for extra learning and it is more flexible than other formats. The general structure of a native sql file is as below:
The first line tells liquibase that we want to use native SQL for specifying changes. The next line defines a changeset and mentiones author name and id of the changeset. A changeset is the unit of execution for mentioning change. The part before the ‘:’ is the author and the part after the ‘:’ is the name of the changeset itself. It makes a lot of sense to use meaningful names and naming patterns here, e.g. including the release information into the names of the changesets. Then we specifying actual sql to be used for change.
One really nice feature is the possibility to define rollback statements. If used properly, it allows to return to an earlier state of the database. It should be noted that a Liquibase-formatted SQL-file can contain several SQL-statements and thus several rollback statements. In our case, if we need to rollback our change, the last line contains the rollback statement to be used. More details on rollback are covered in this post.
In our case, we have defined three change files: create_table_link.sql (to create a table named link), insert_link.sql (to insert records in table) and alter_table_link.sql (to add an extra column to the table).
Maven Integration with Liquibase
Since Liquibase itself is a Java library, it makes sense to design directory structure based on Maven or Spring boot or Gradle etc. We’ll be using Maven for this post’s purpose and basing the directory structure on it. For the time being let’s assume we are having a Maven project already and all Liquibase project files are stored in “src/main/resources/” directory.
To use Liquibase, we should add it as a dependency to our POM-file. The most recent releases can be found from here. Below is the code for same:
We also need to add JDBC driver for target database since we cannot assume it would be present on the build/release agent. Since we are targeting postgreSQL in our case, below is the code for same:
After this, to make use of Maven to execute Liquibase the following plugin configuration must be added:
The thing to note here is the path to liquibase.properties file which contains the default configuration file for Liquibase. This file not only contains the target SQL information but it also points to the changeLogFile which again contains the changeSets.
It is possible to execute Liquibase from within an IDE or locally from the command line by starting Maven as follows:
1 | mvn liquibase:update |
However, we have commented the executions tag, as we’ll run it from the command line during the release process.
We would also need to package all files i.e. database changes, the dependencies, properties files, etc into one zip file so that we can unpack the same during time of release and execute it from there. To create a ZIP-file containing all relevant Liquibase-files, we can use the Maven assembly-plugin using below code:
In above, we have defined the file src/assembly/assembly.xml which contains the packaging information for creating the zip file. In our case, this is as below:
Now in our CI build, we can then have zip file generated as the artifact, which contains all the files which we need during the release process.
Defining YAML Pipeline for Azure DevOps
As we discussed in one of our earlier posts, the YAML pipeline can consist of both CI and CD tasks or can contain them individually. So we’ll need to define them both in our pipeline.
Defining YAML for build process
First, we need to name our stage. Let’s name it as ‘Build’ for convenience. Now this stage can consists of multiple jobs which can be executed in parallel on various available agents. However, that is not required in our case. So we’ll create a single job named ‘Build’ for our purpose. Since our job is going to be run on Ubuntu machine, let’s use Hosted Agent Pool ‘Hosted Agent 1604’:
We have also specified an additional attribute named continueOnError which states that we do not want to proceed further in case of failures.
Now we need to define two tasks: One for the maven compilation and creating the zip artifact and One for uploading the artifact to the Azure DevOps. For defining the maven compilation and creation of zip artifact, we can use below YAML:
The important detail here is the name of the pom file and the Maven goals. Note that we do not need to perform any special task for creating zip file as we have created zip artifact as part of maven lifecycle process itself.
For uploading the artifact to Azure DevOps, we can use below YAML code:
Since, build artifacts are created in the target directory, we have specified that upload files from that directory to Azure DevOps.
Defining YAML for the release process
During the release process, first we need to download the artifact to the release agent. Again, we would first need to define an stage, an job and then perform all steps inside that job. Also, we need to define the agent pool for the job to run.
To download artifacts from Azure DevOps to release agent, we can use below YAML code:
Note that we have specified that we want to download only zip artifact by using the itemPattern field. We are also downloading artifacts to predefined path by the release variable: $(System.ArtifactsDirectory), so that we can refer it easily in the subsequent paths.
Once the artifact is downloaded, we need to navigate to the directory, unzip it and then run the liquibase commands. We can do all of this easily by using bash commands and specify those as part of the YAML code:
Important thing to note here is the path of the properties file which contains the configuration for the liquibase to run.
We can define multiple stages as part of the release process for multiple environments.
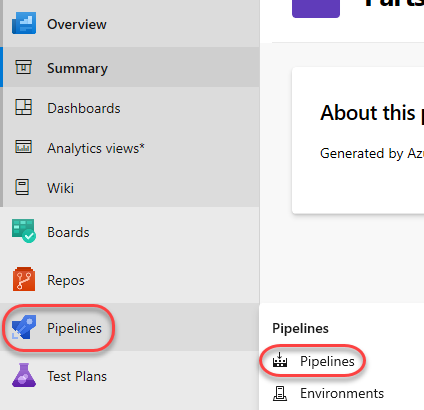
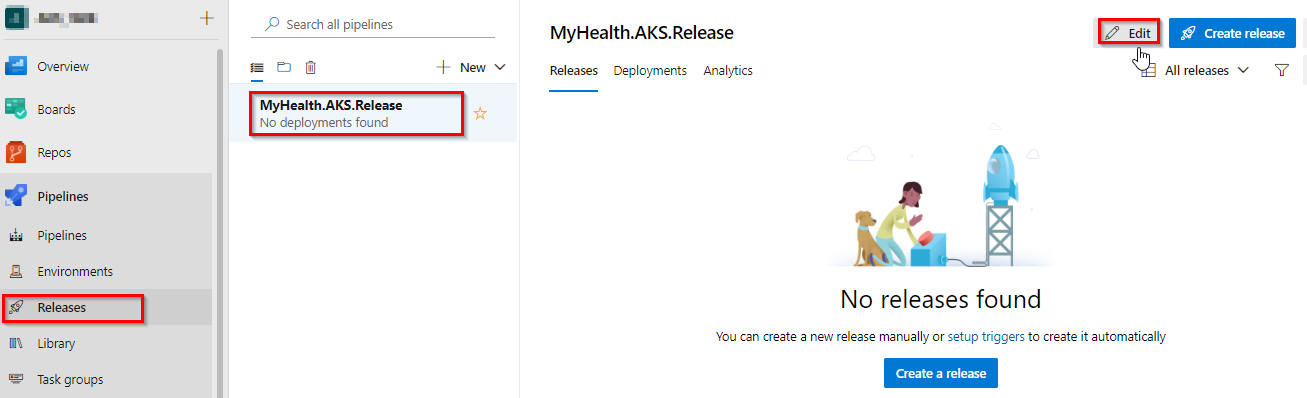
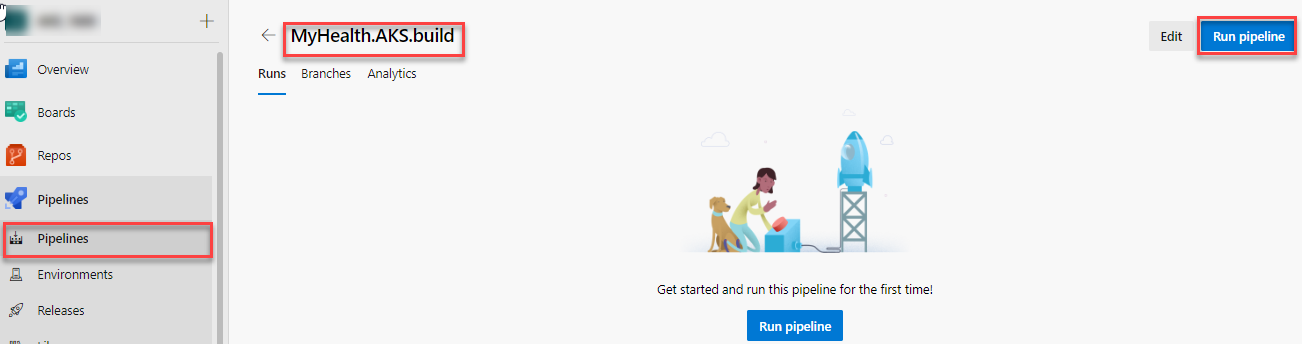
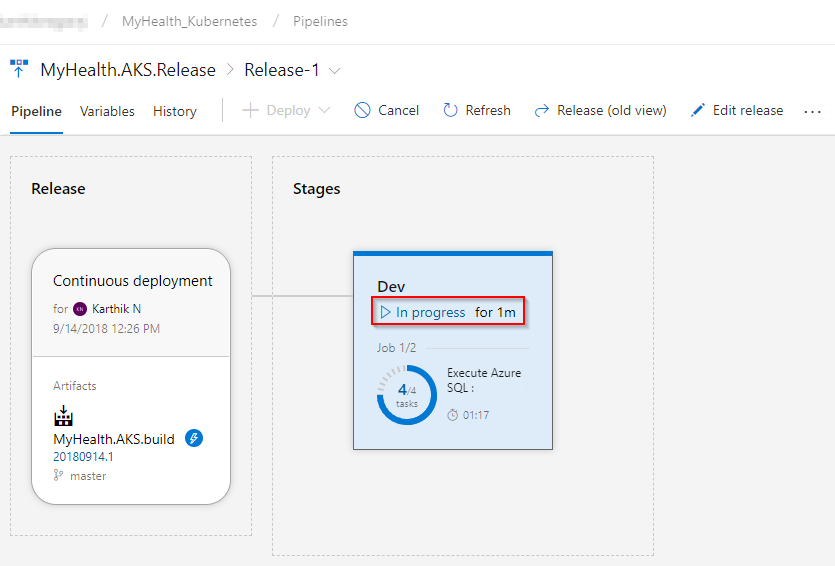
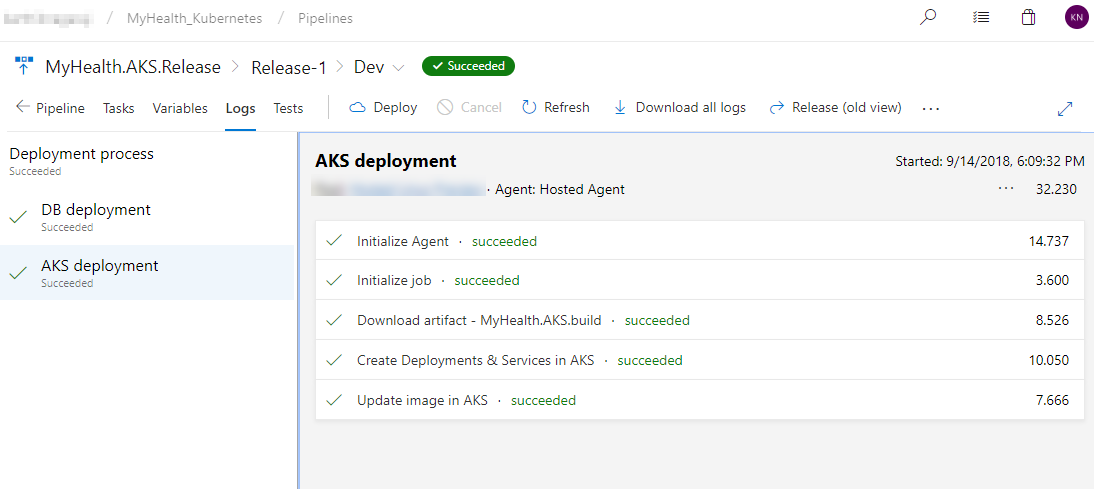
Run the Azure DevOps Pipeline
If you have done the configuration properly and checked-in the source code, Azure DevOps will read the azure-pipelines.yml file to create the pipeline. We can then run the pipeline and see it in action:

Summary and Notes
Deploying database changes as part of the pipeline is fast emerging and getting established as part of the DevOps process. One of the popular tools for deploying database changes is Liquibase. In this post, we have explored how we can create an end to end CI/CD pipeline for deploying changes.
The full copy of the source code used in this blog post can be found on GitHub at here.
Please note that you may not be able to view source code, if you are viewing this post on mobile due to AMP restrictions. In such a case, open this blog post in a full browser to view the same.

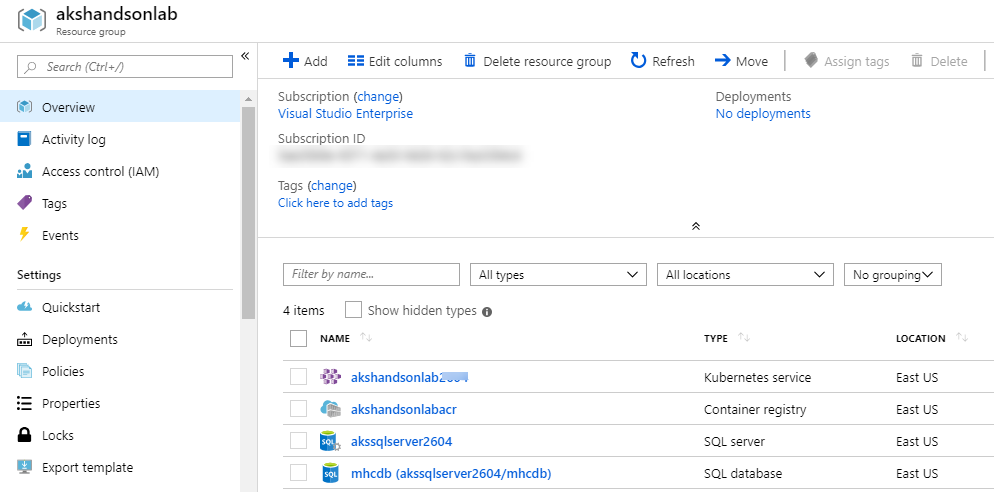
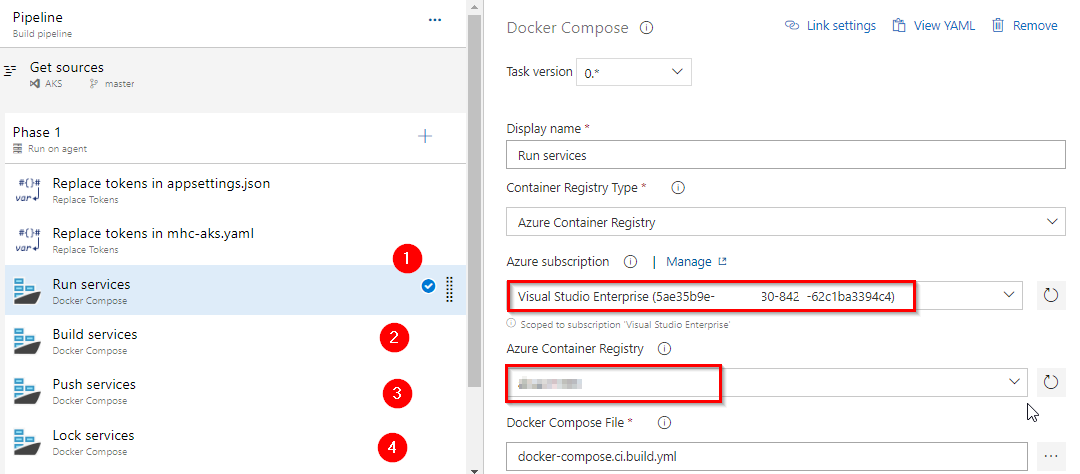
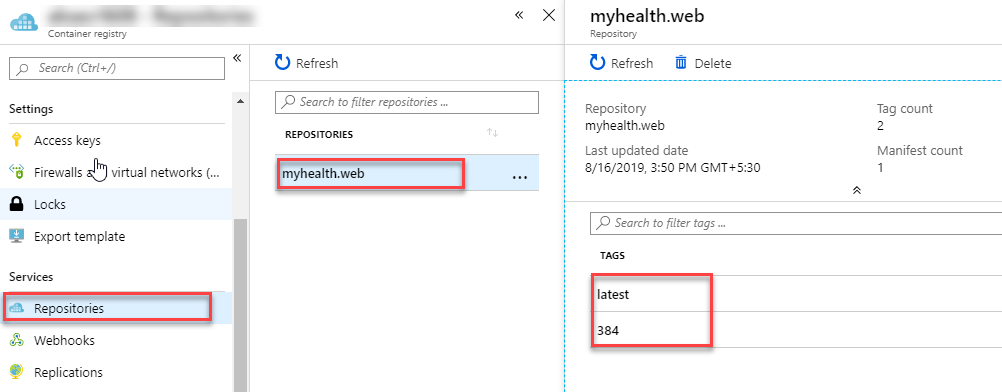
 Azure Container Registry
 AKS
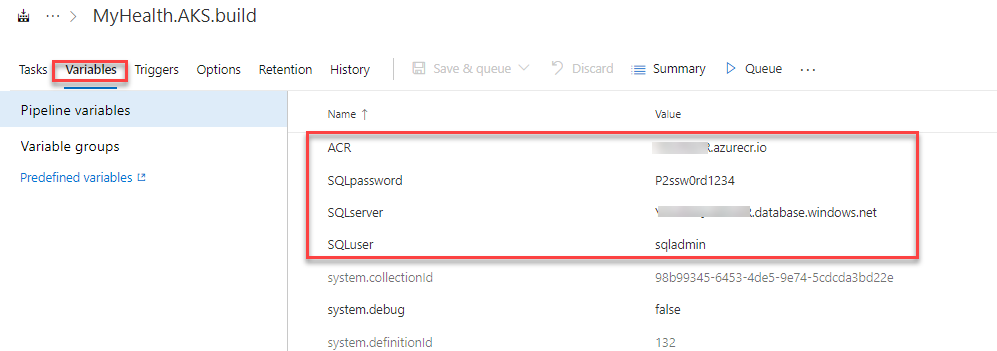
AKS Azure SQL Server